I had a busy weekend reattaching things!
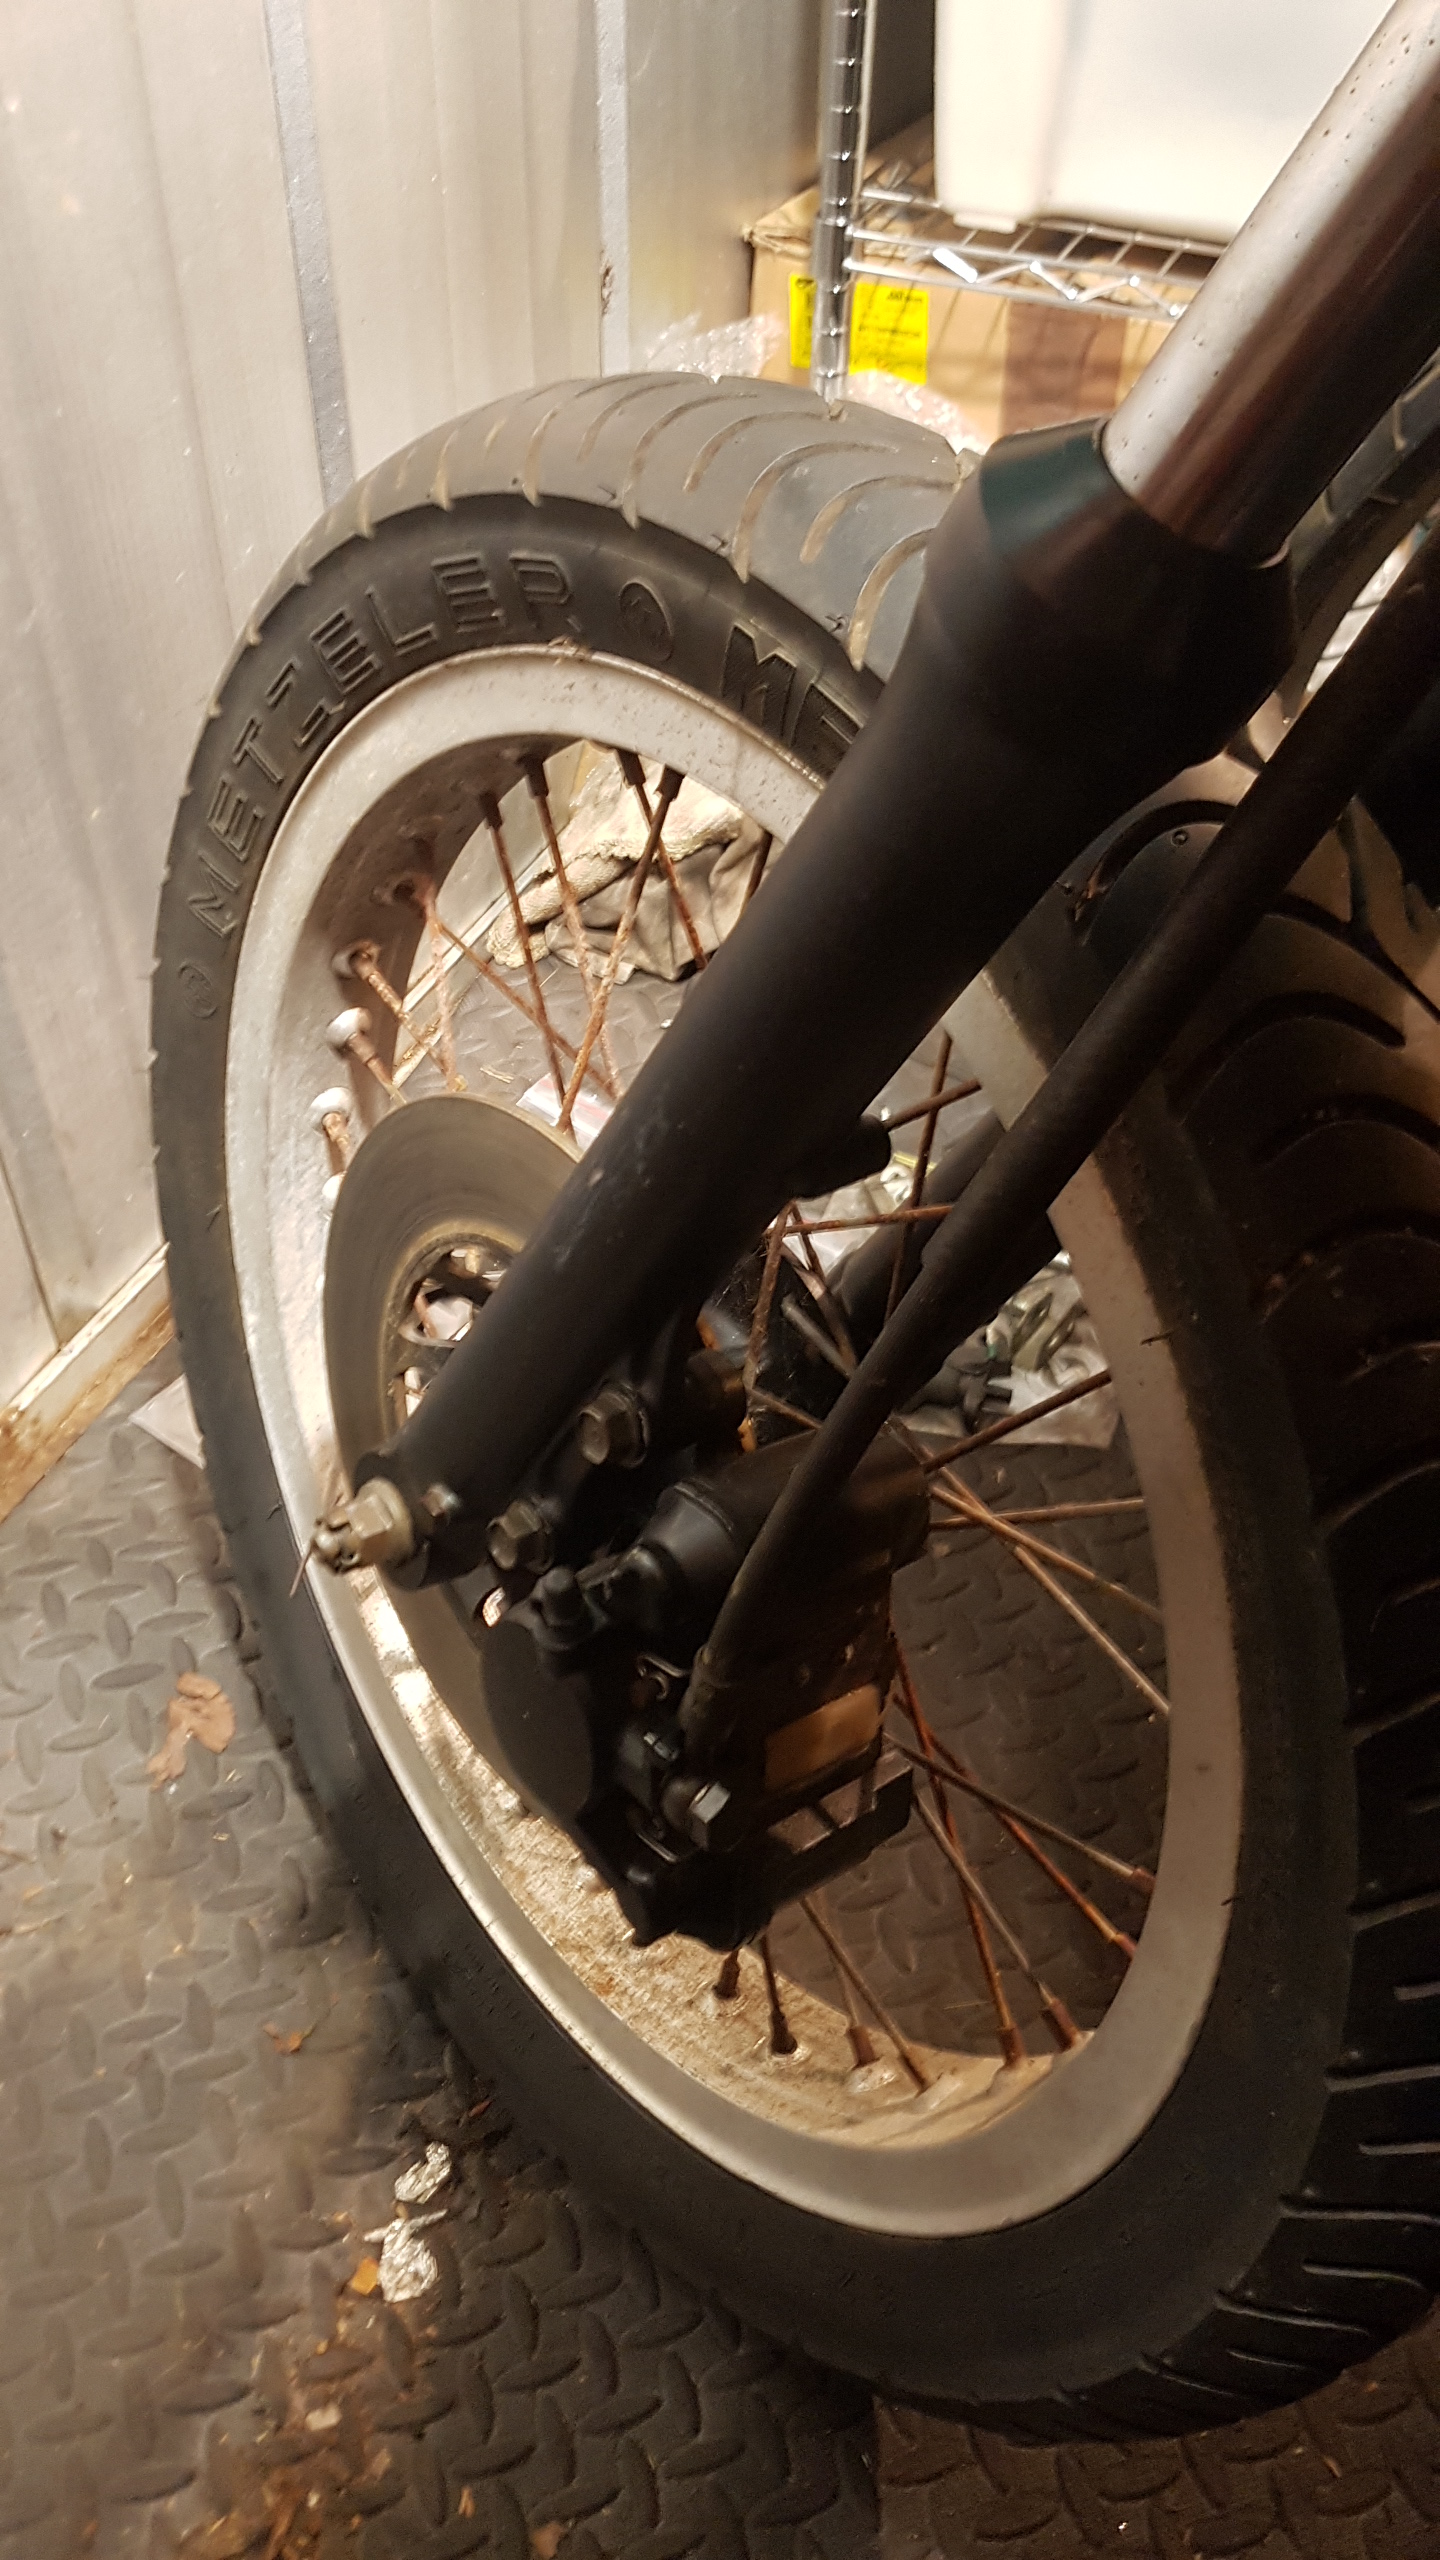
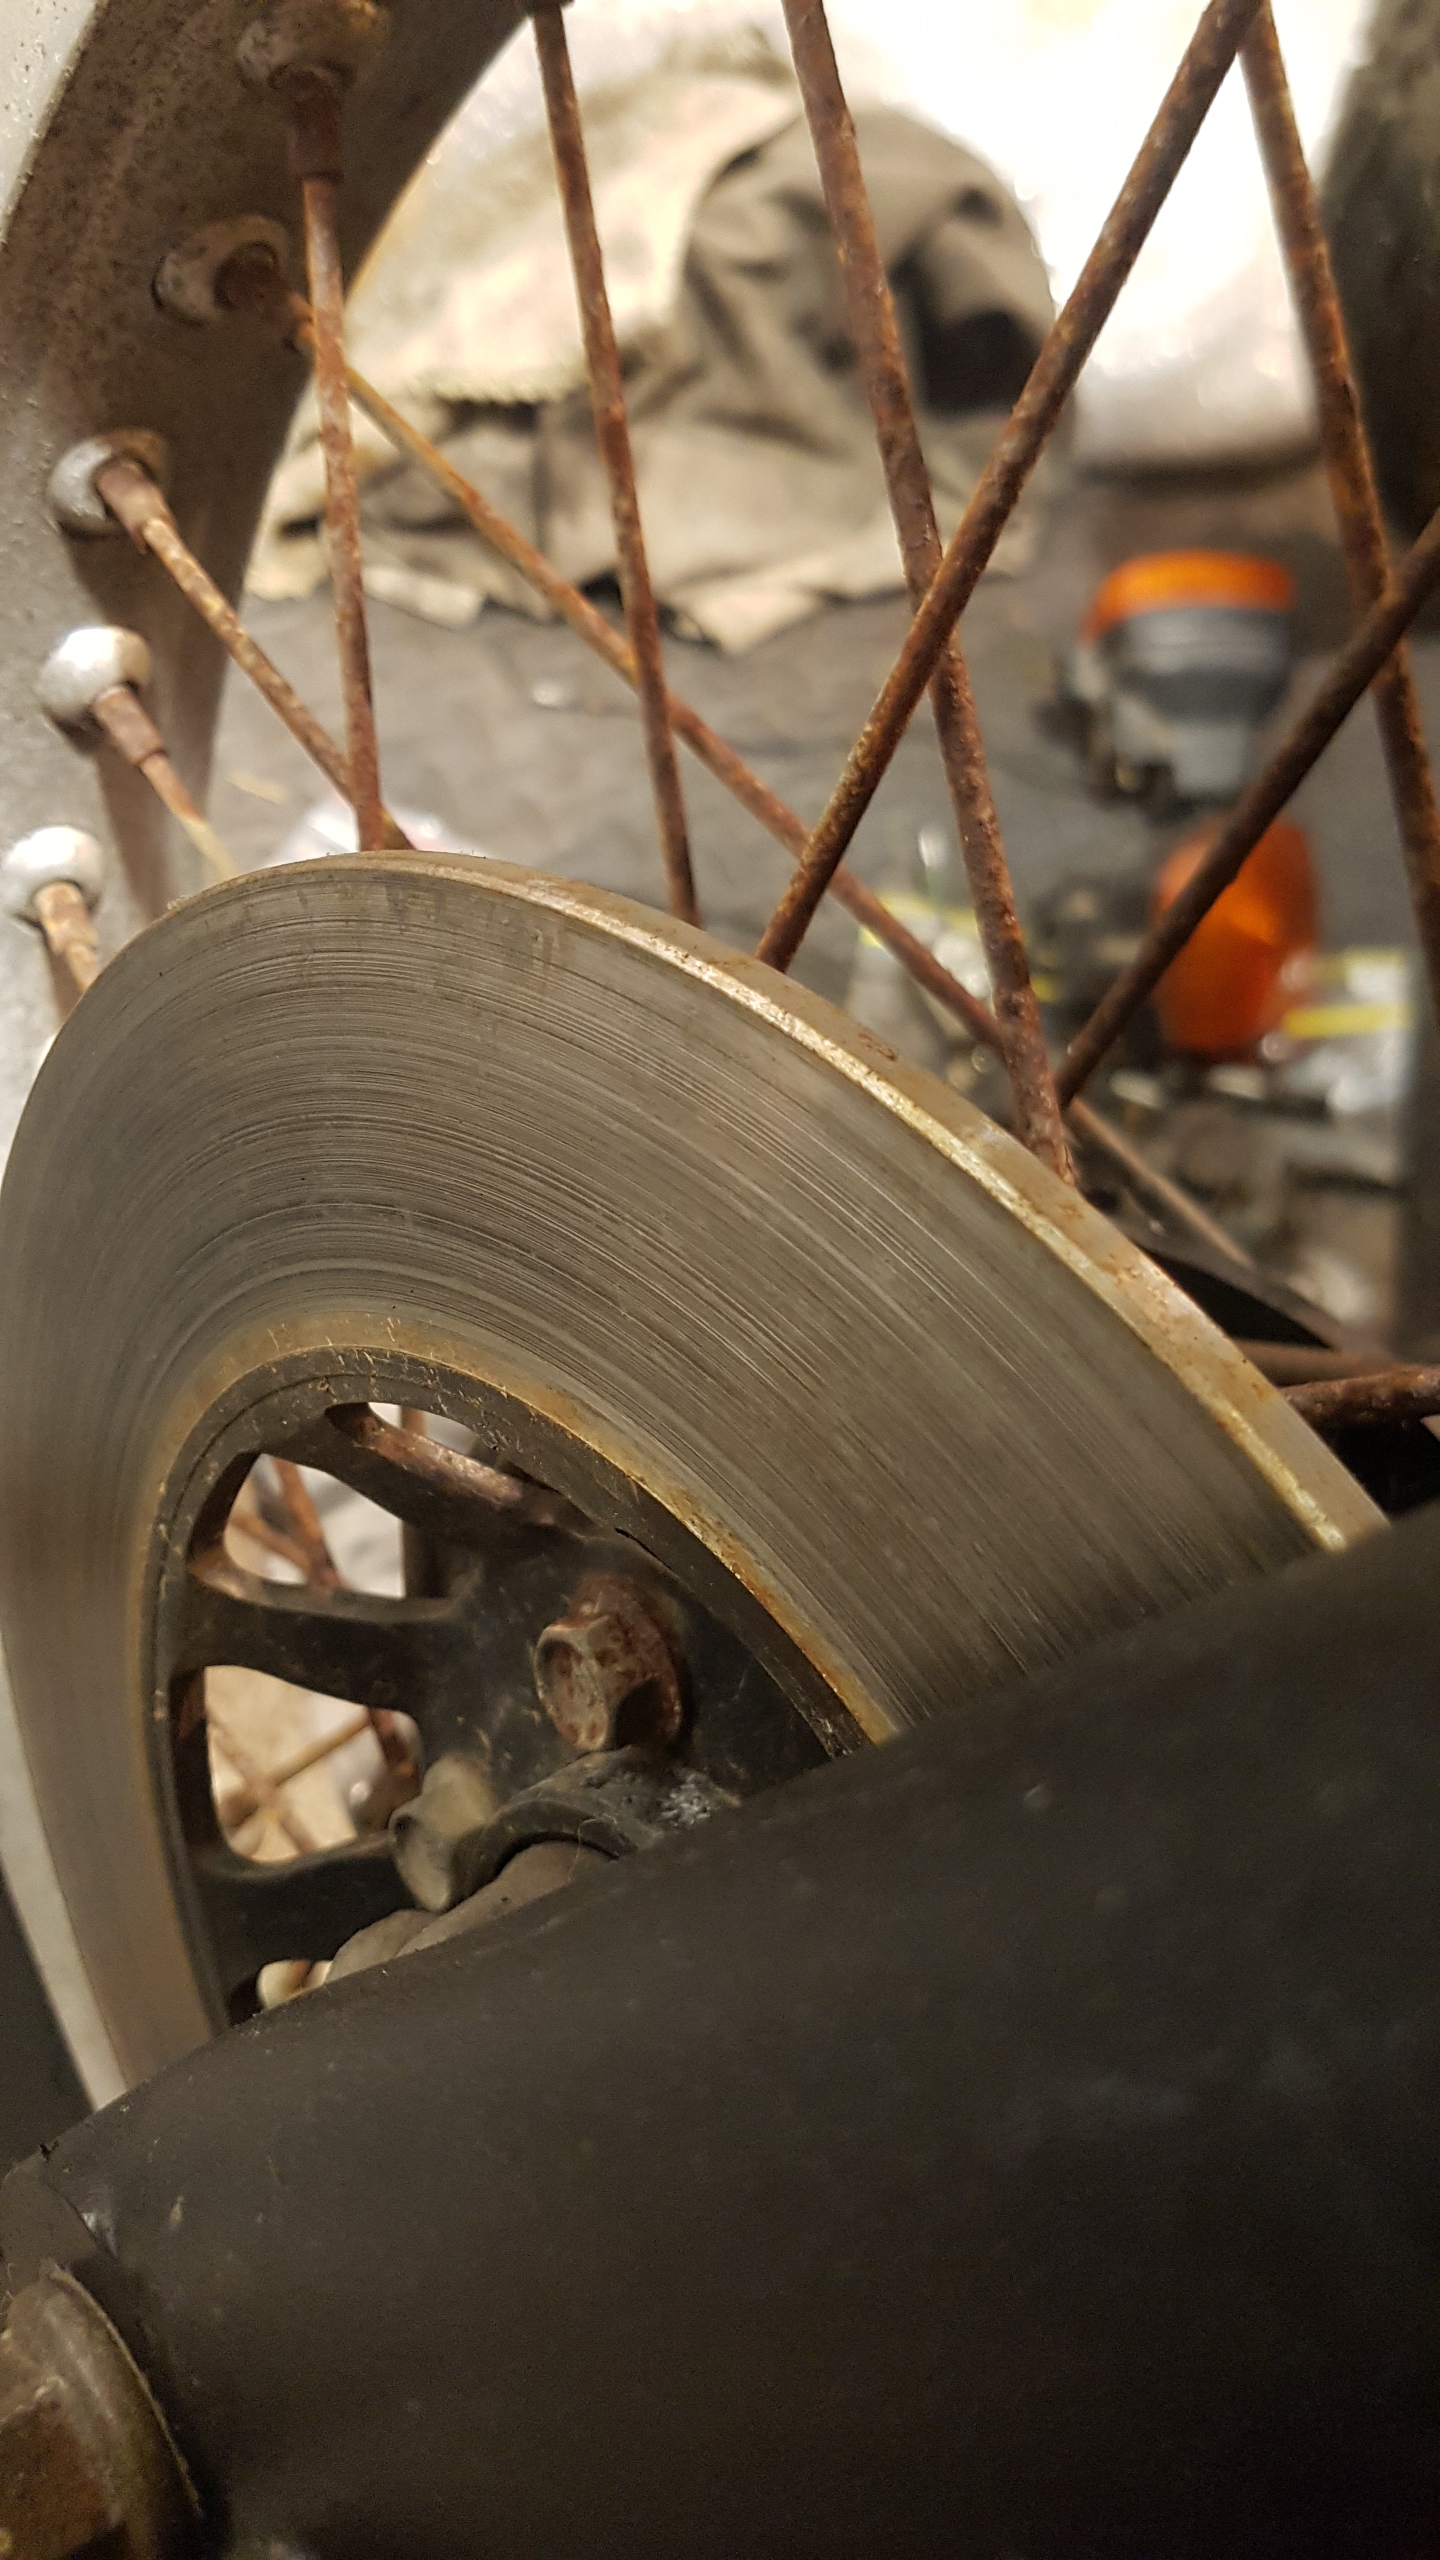
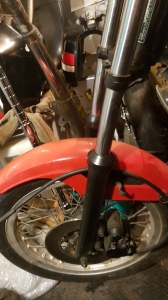
First up, I wanted to swap out the front wheel as the tyre was quite flat, the spokes are rusty, and the brake disc looks almost as grooved as a record from the same era as the bike!


Fortunately the donor bike had a front wheel with a nice firm front tyre, very little rust on the spokes, and a brake disc in much better condition.

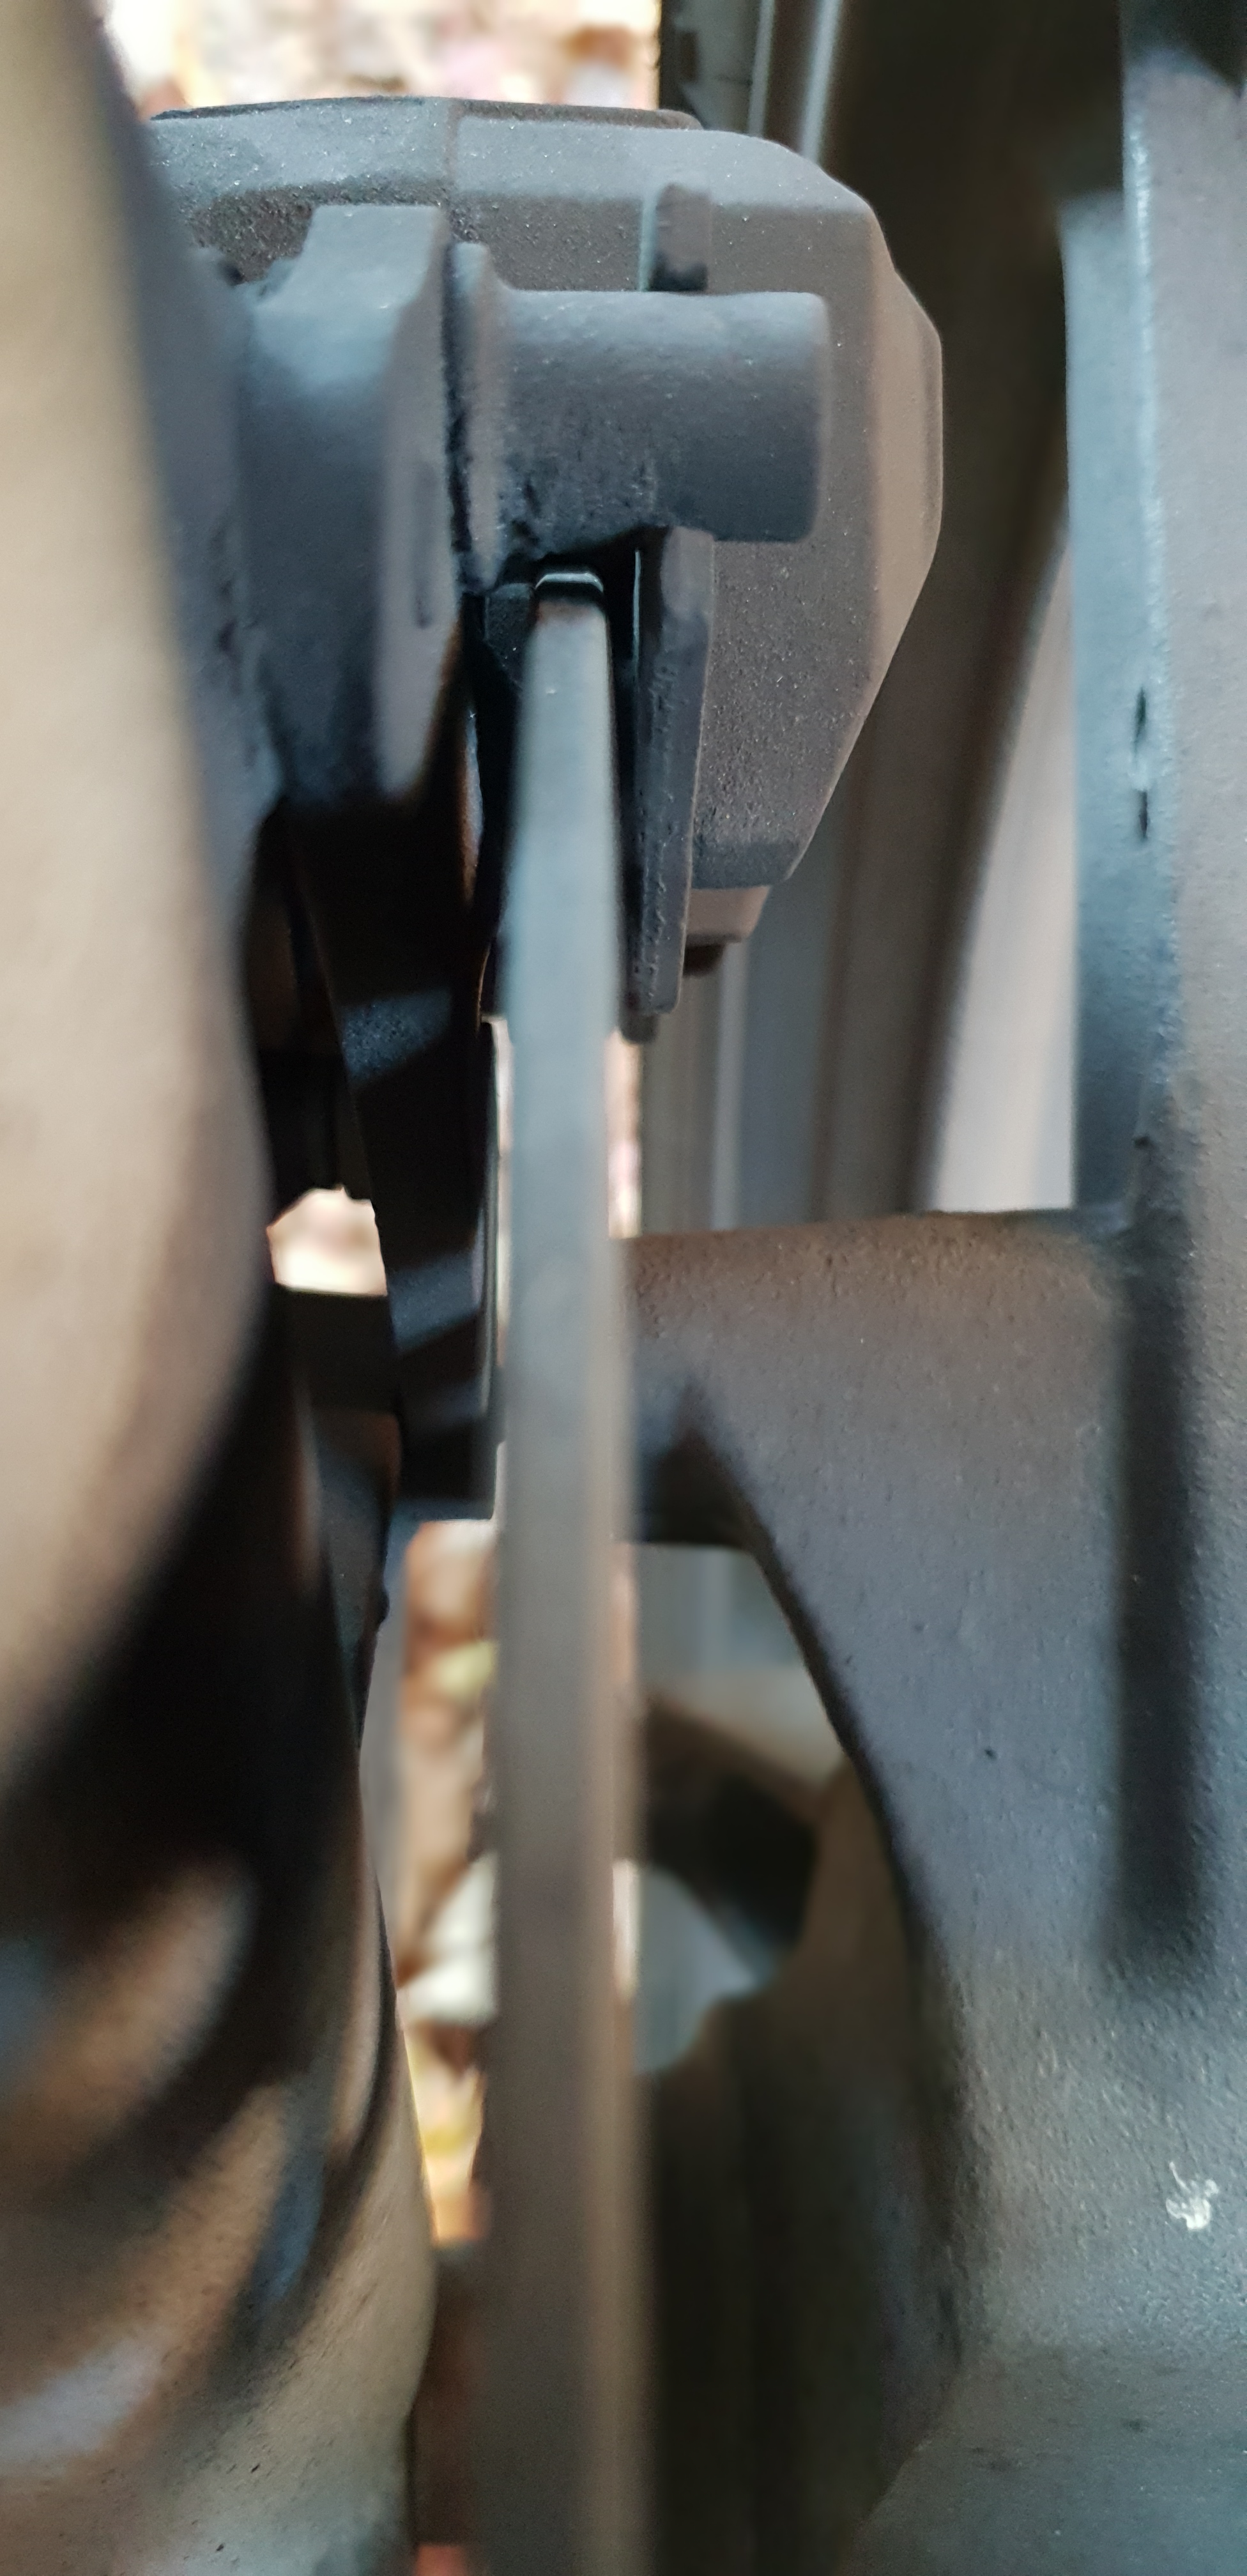
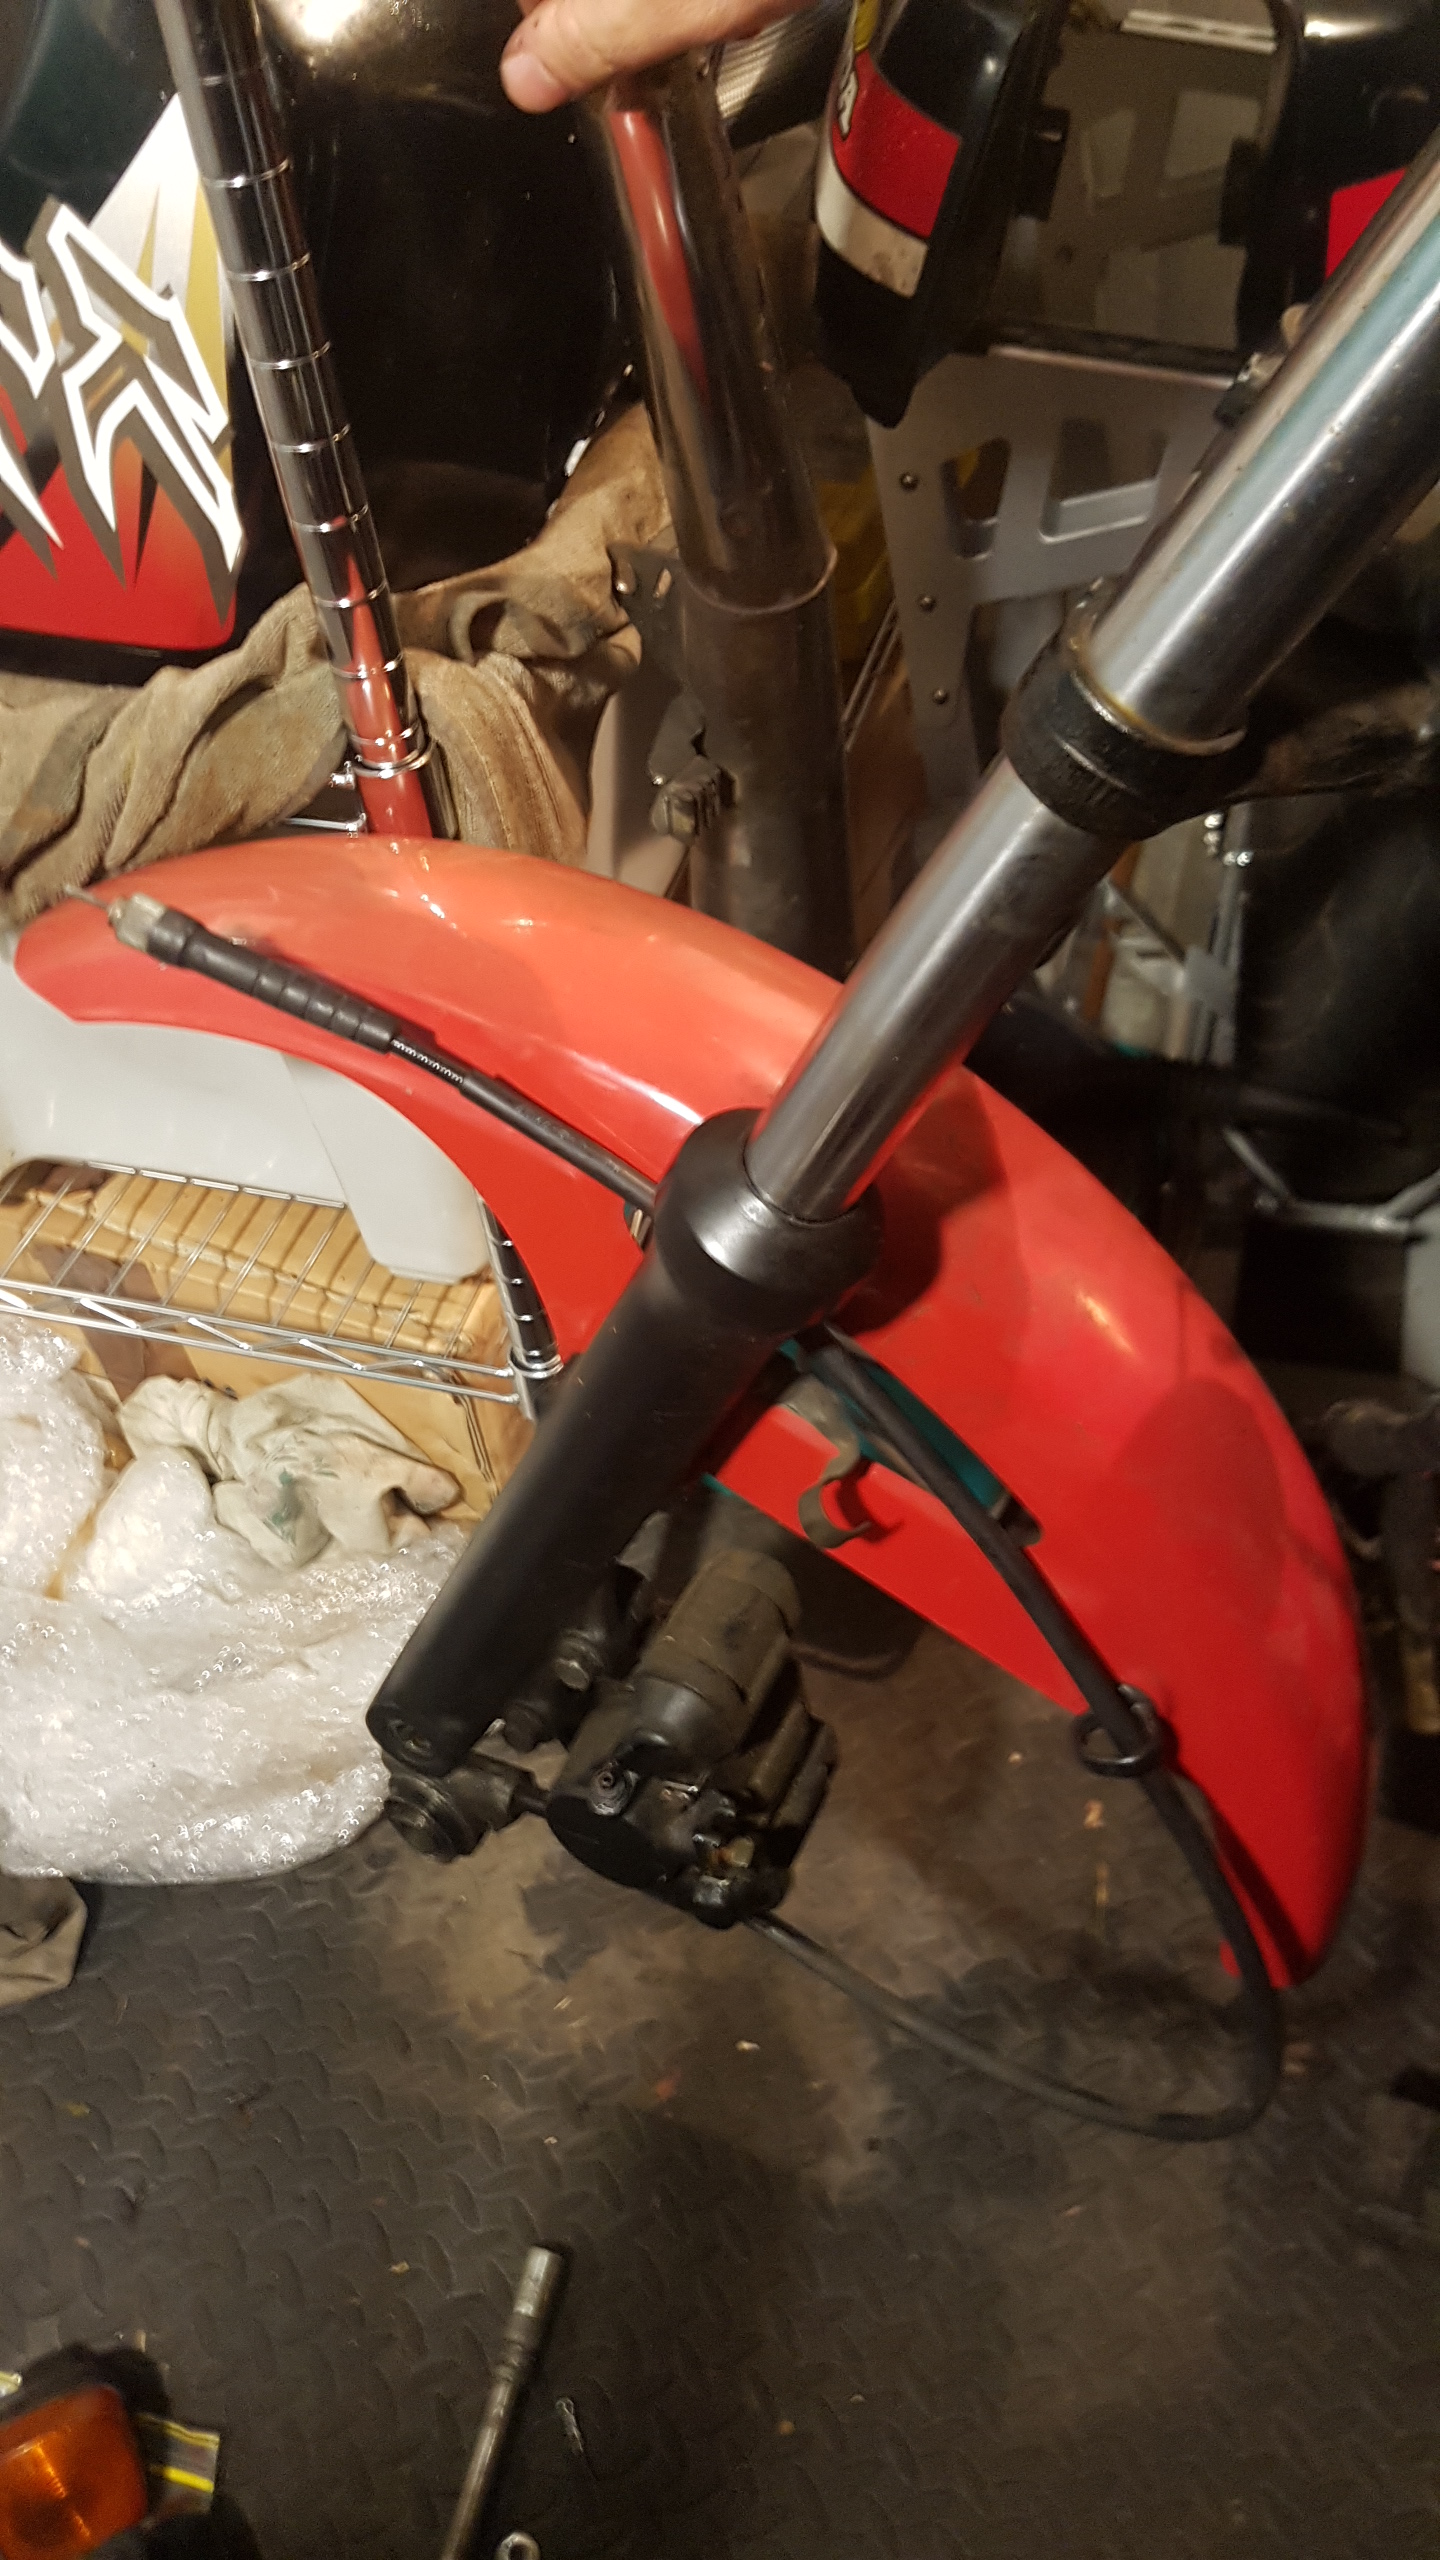
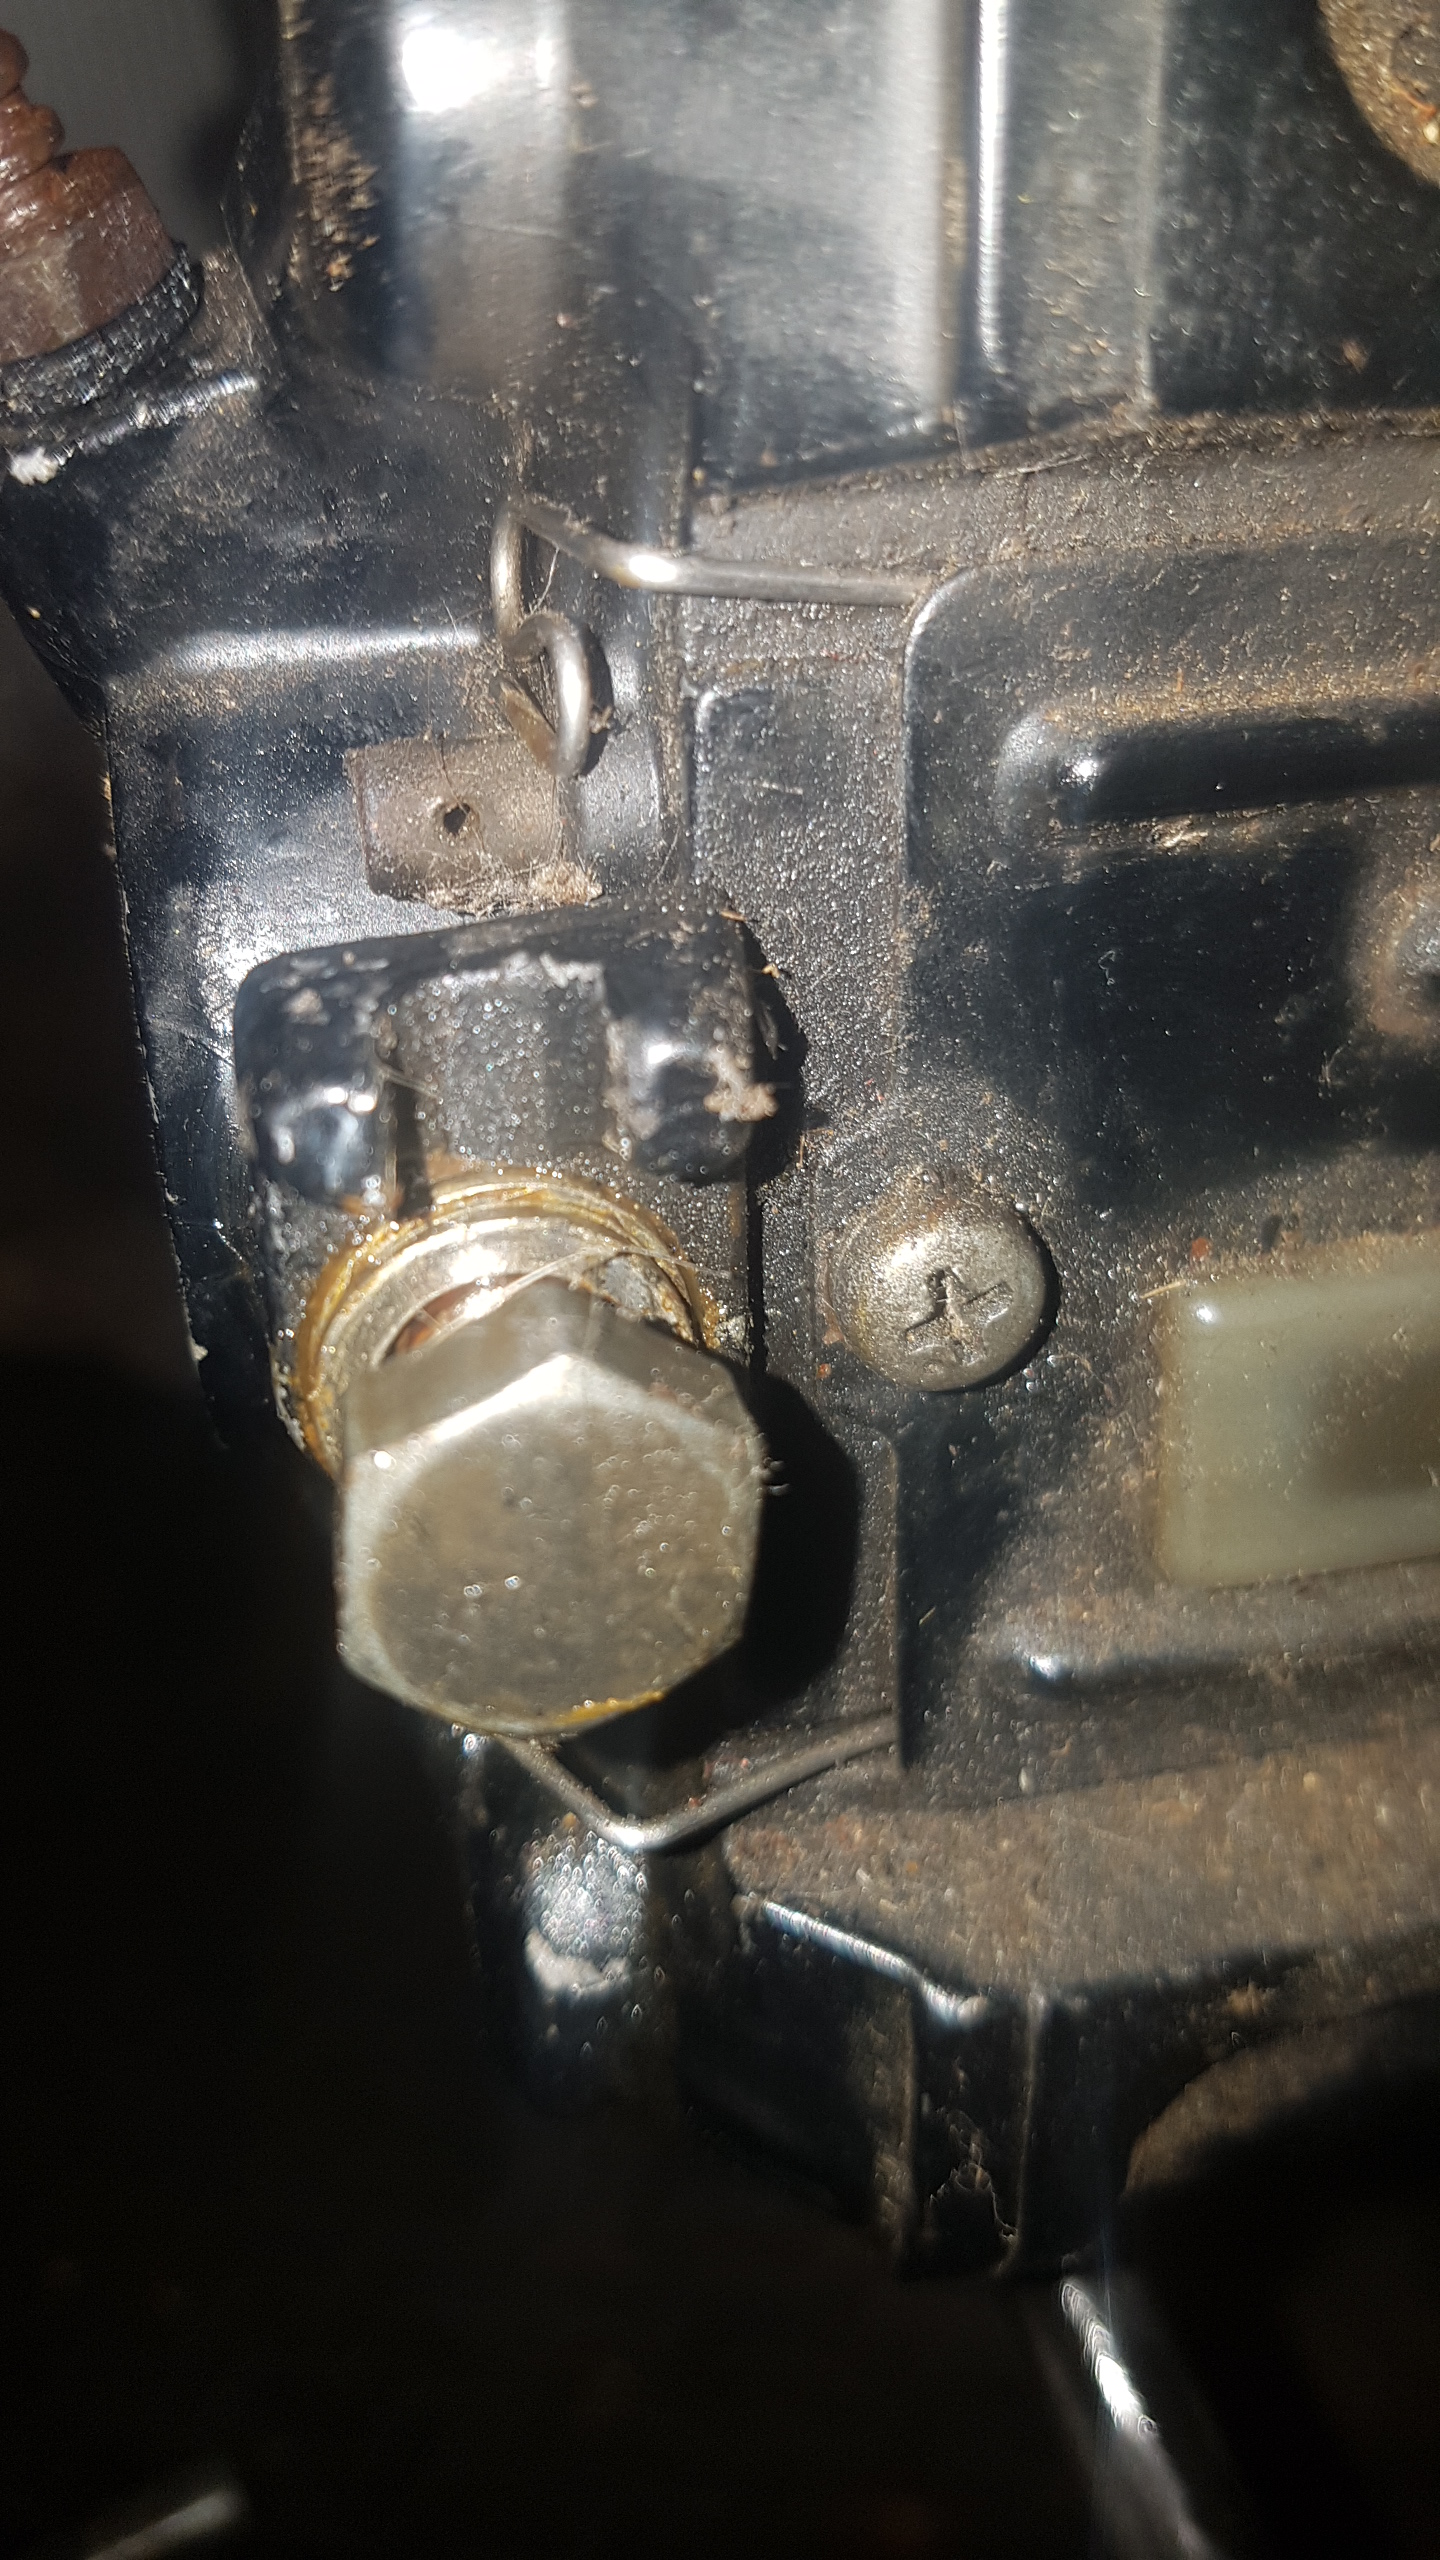
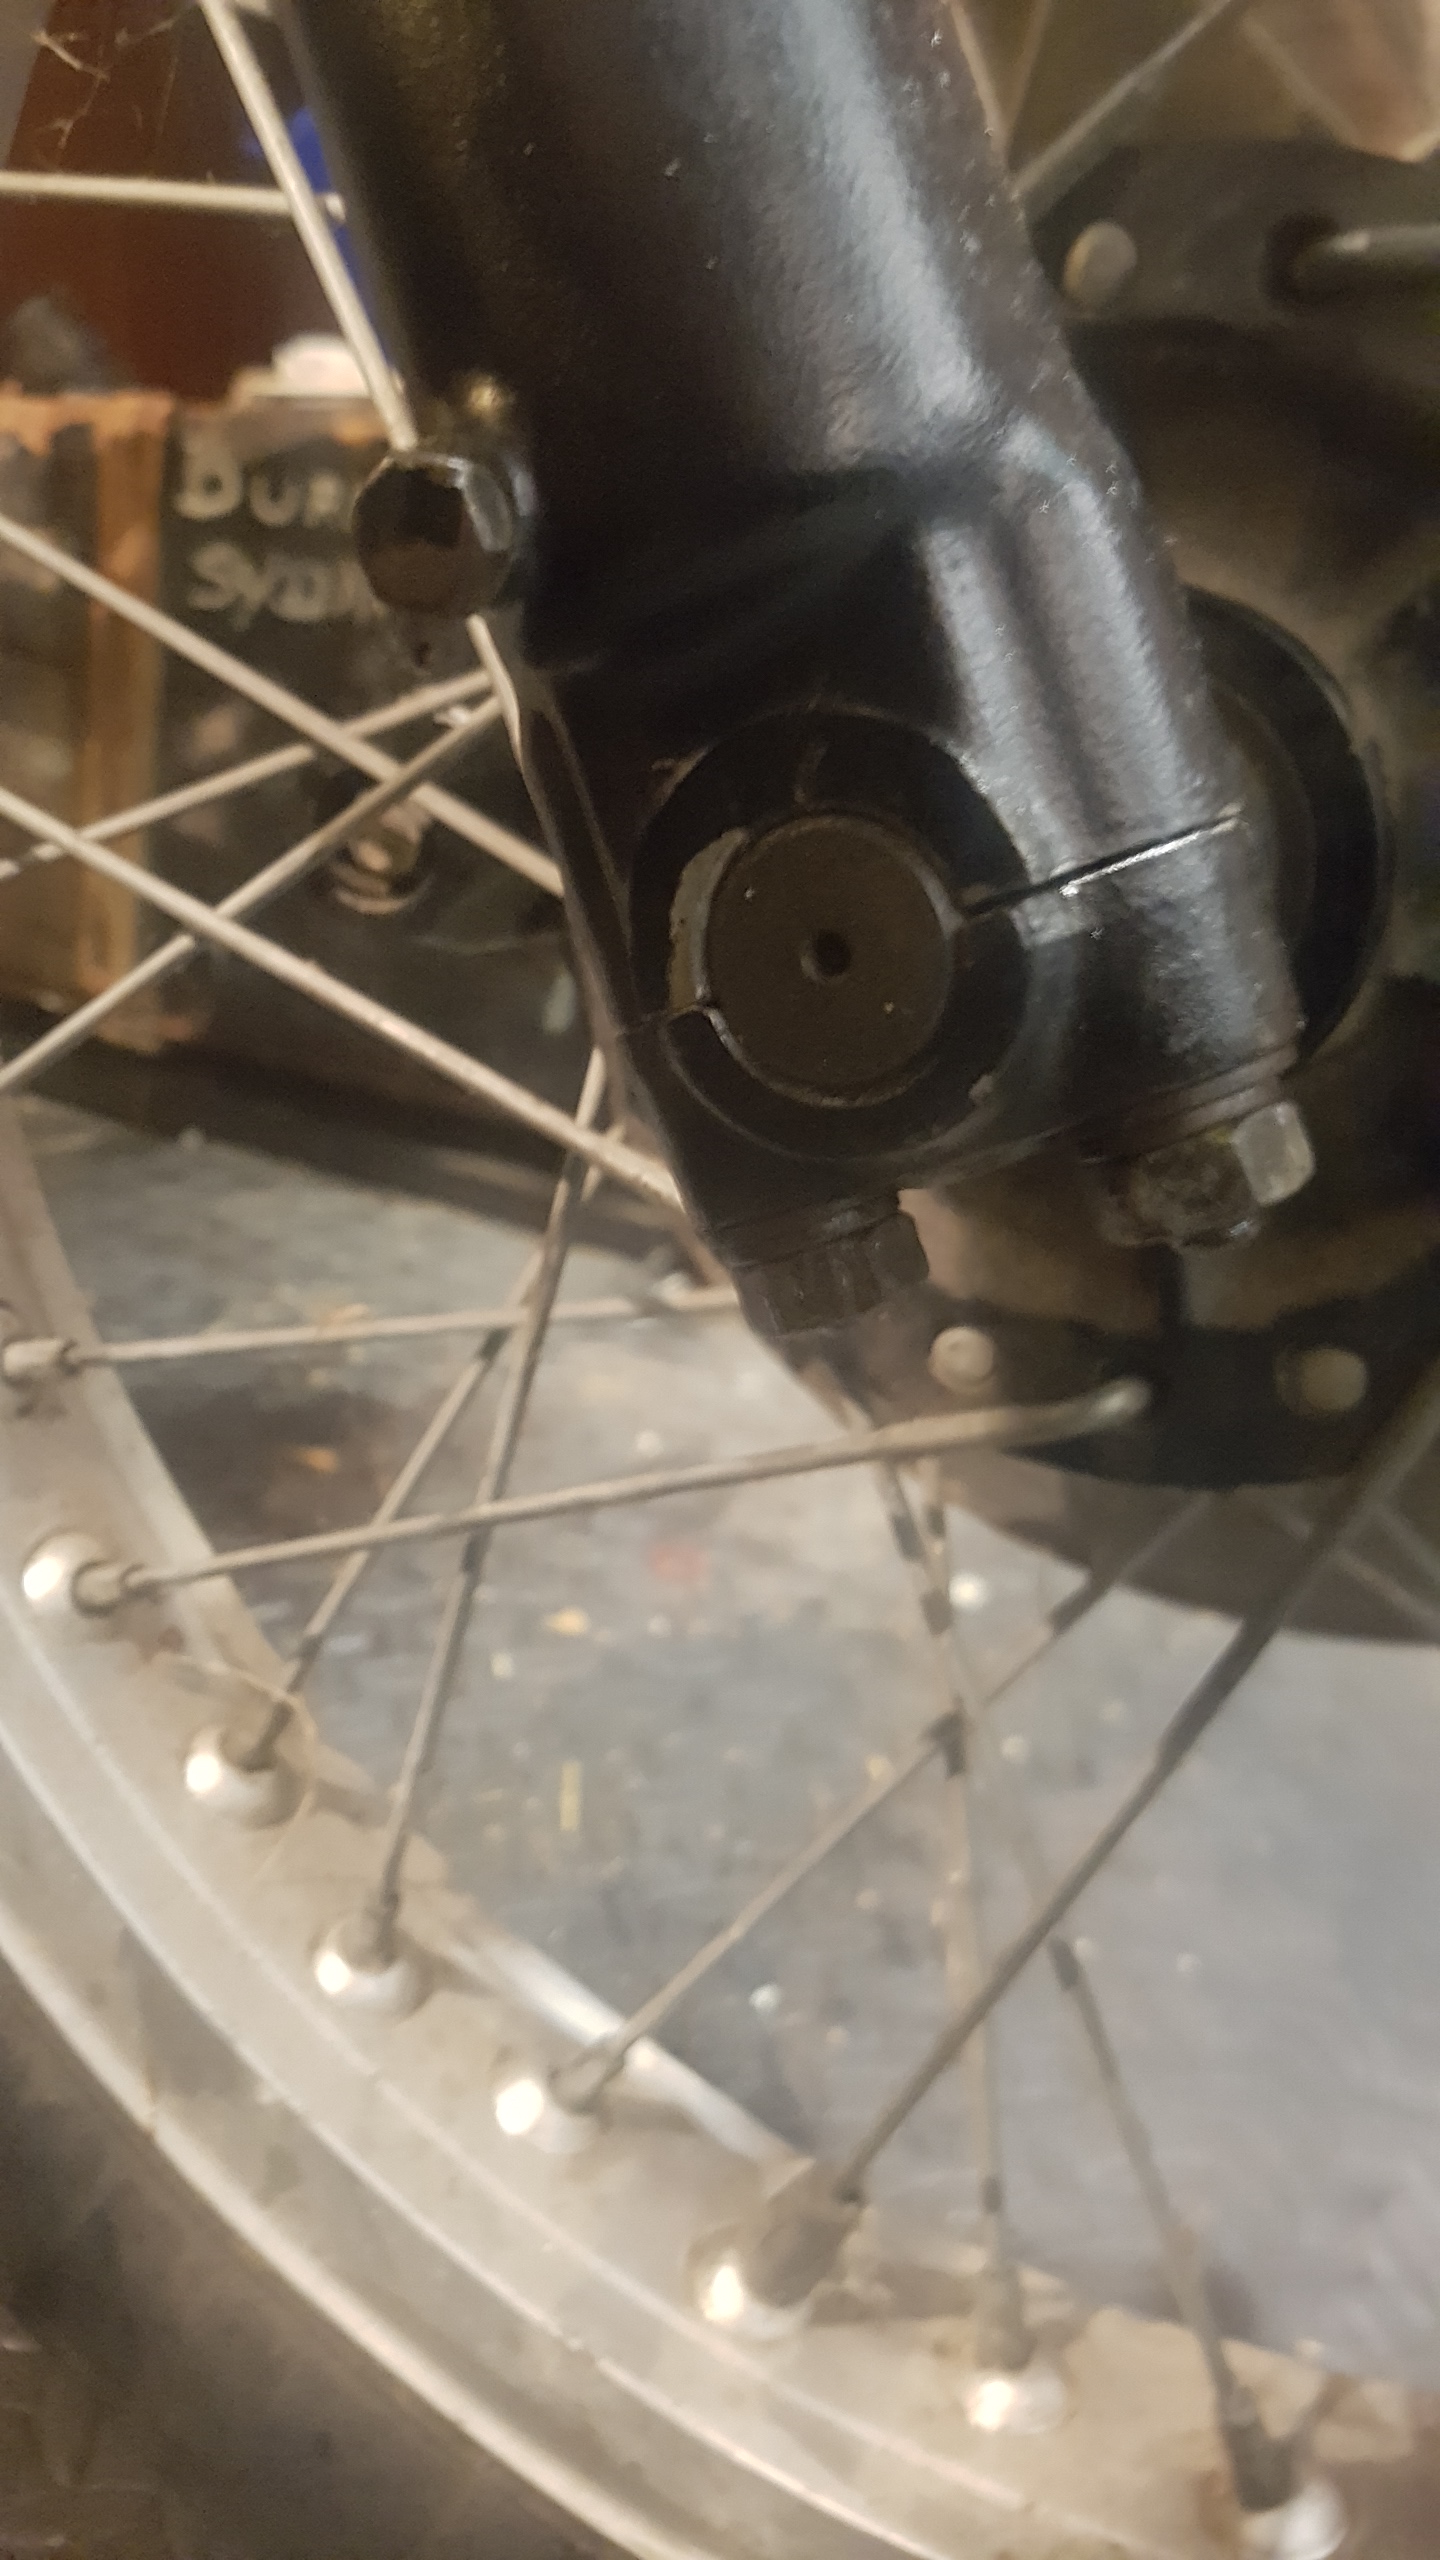
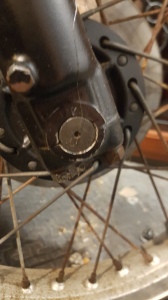
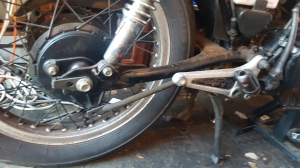
After removing the castle nut and split pin from the left side of the axle, I was a little puzzled as to how to removed the axle, as I hadn’t looked at the right side closely before. The axle is held onto the right fork with a similar type of bracket to those used to to hold the the handlebar to the triple tree and the to hold the master brake cylinder in place on the handlebar.


Once the bolts had been removed, it was remarkably easy to remove the wheel and axle


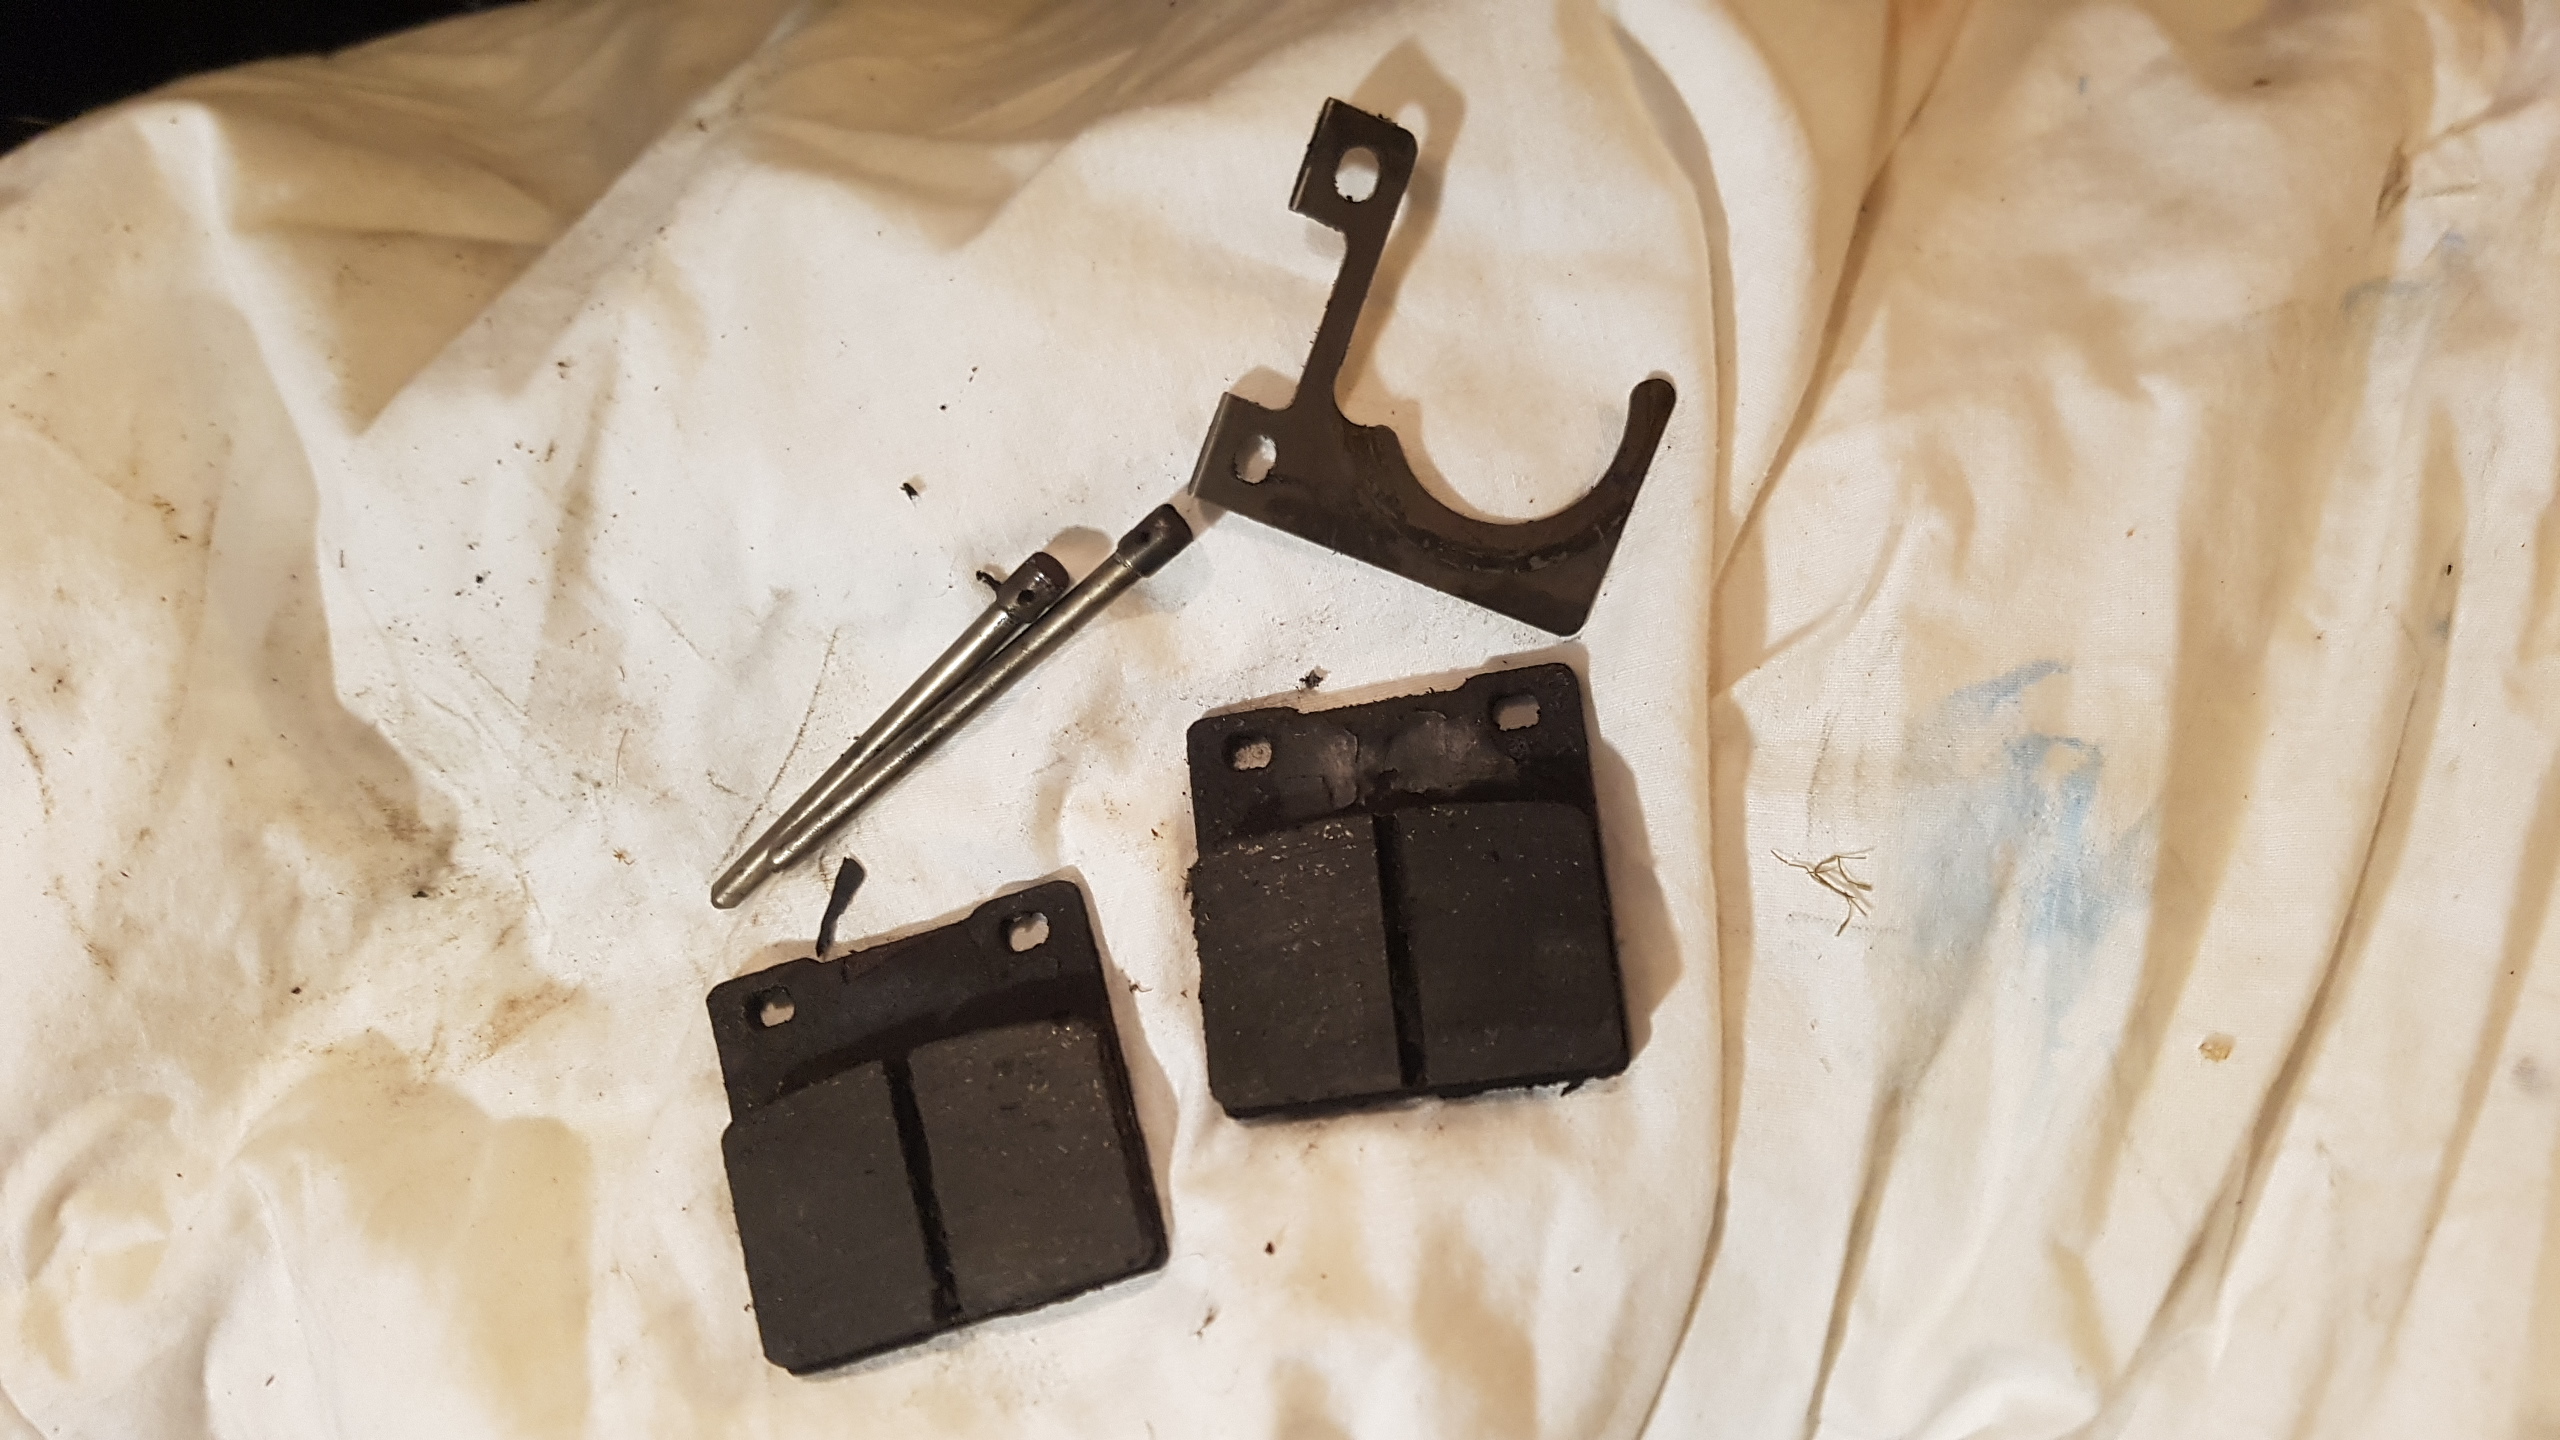
I removed the brake pads, as I was planning to transfer them to the other set of calipers along with the wheel.


Next it was time to remove the sub-par wheel and put it aside to think about what it had done

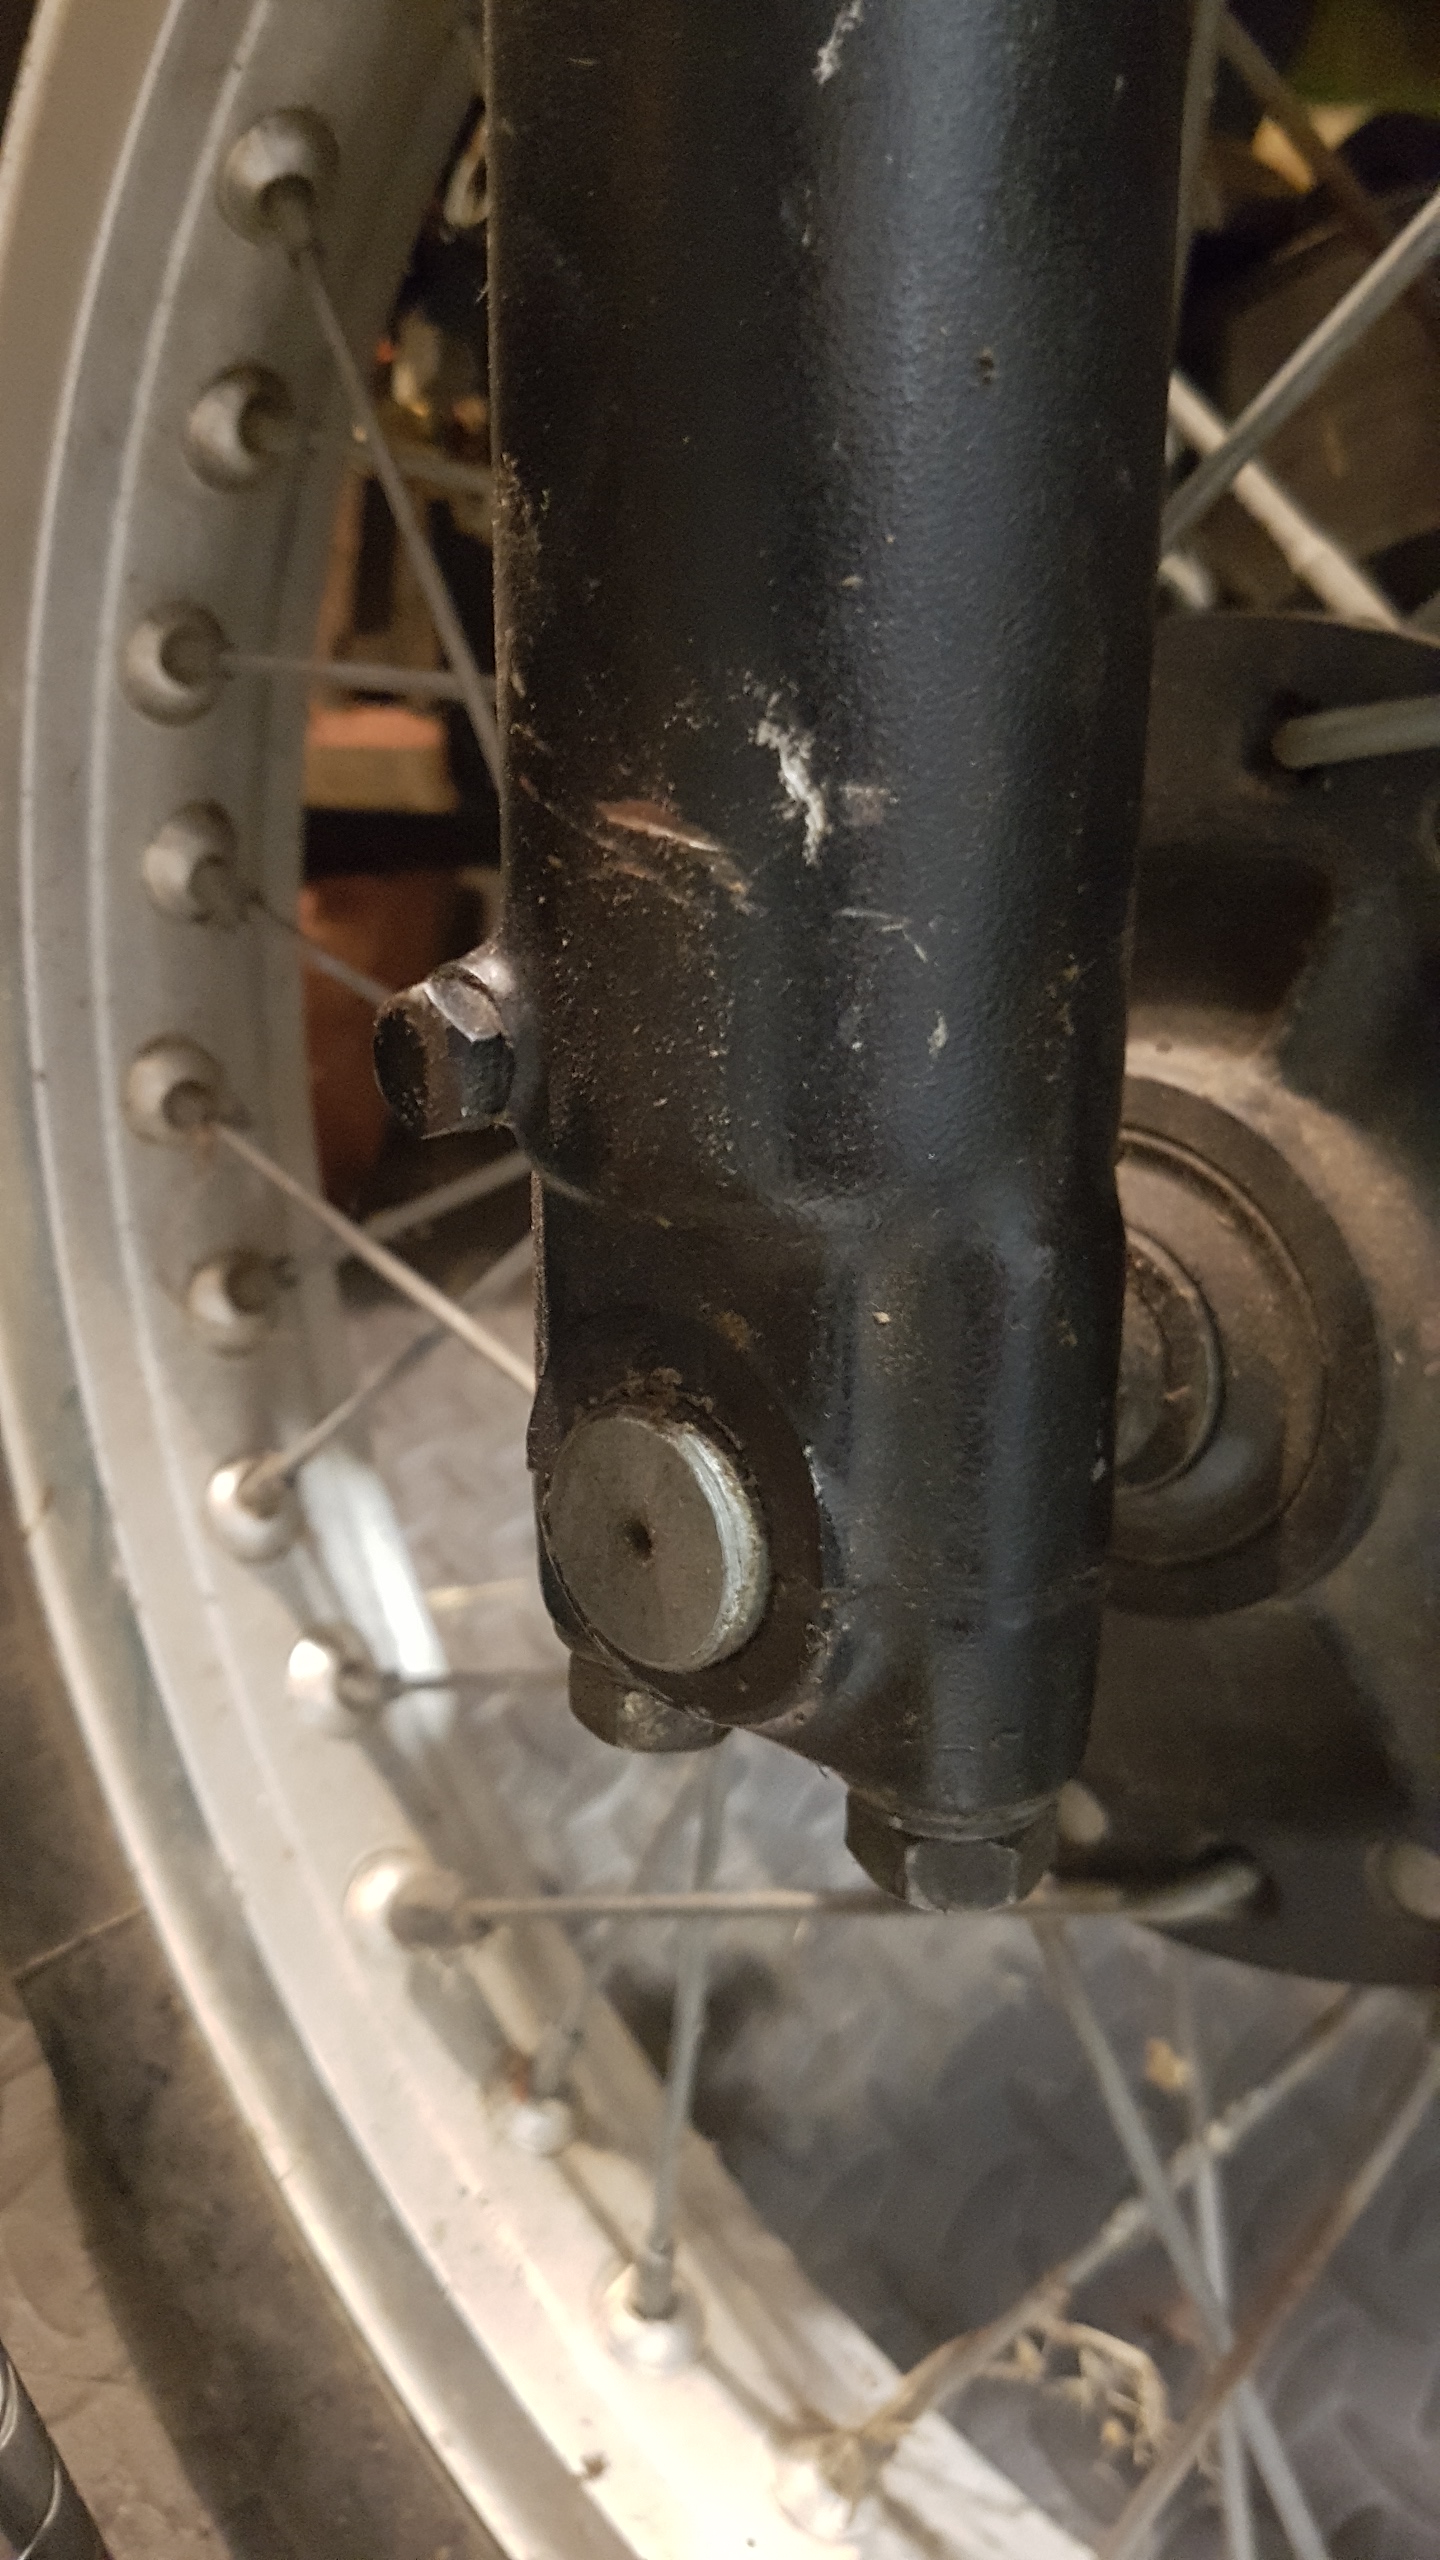
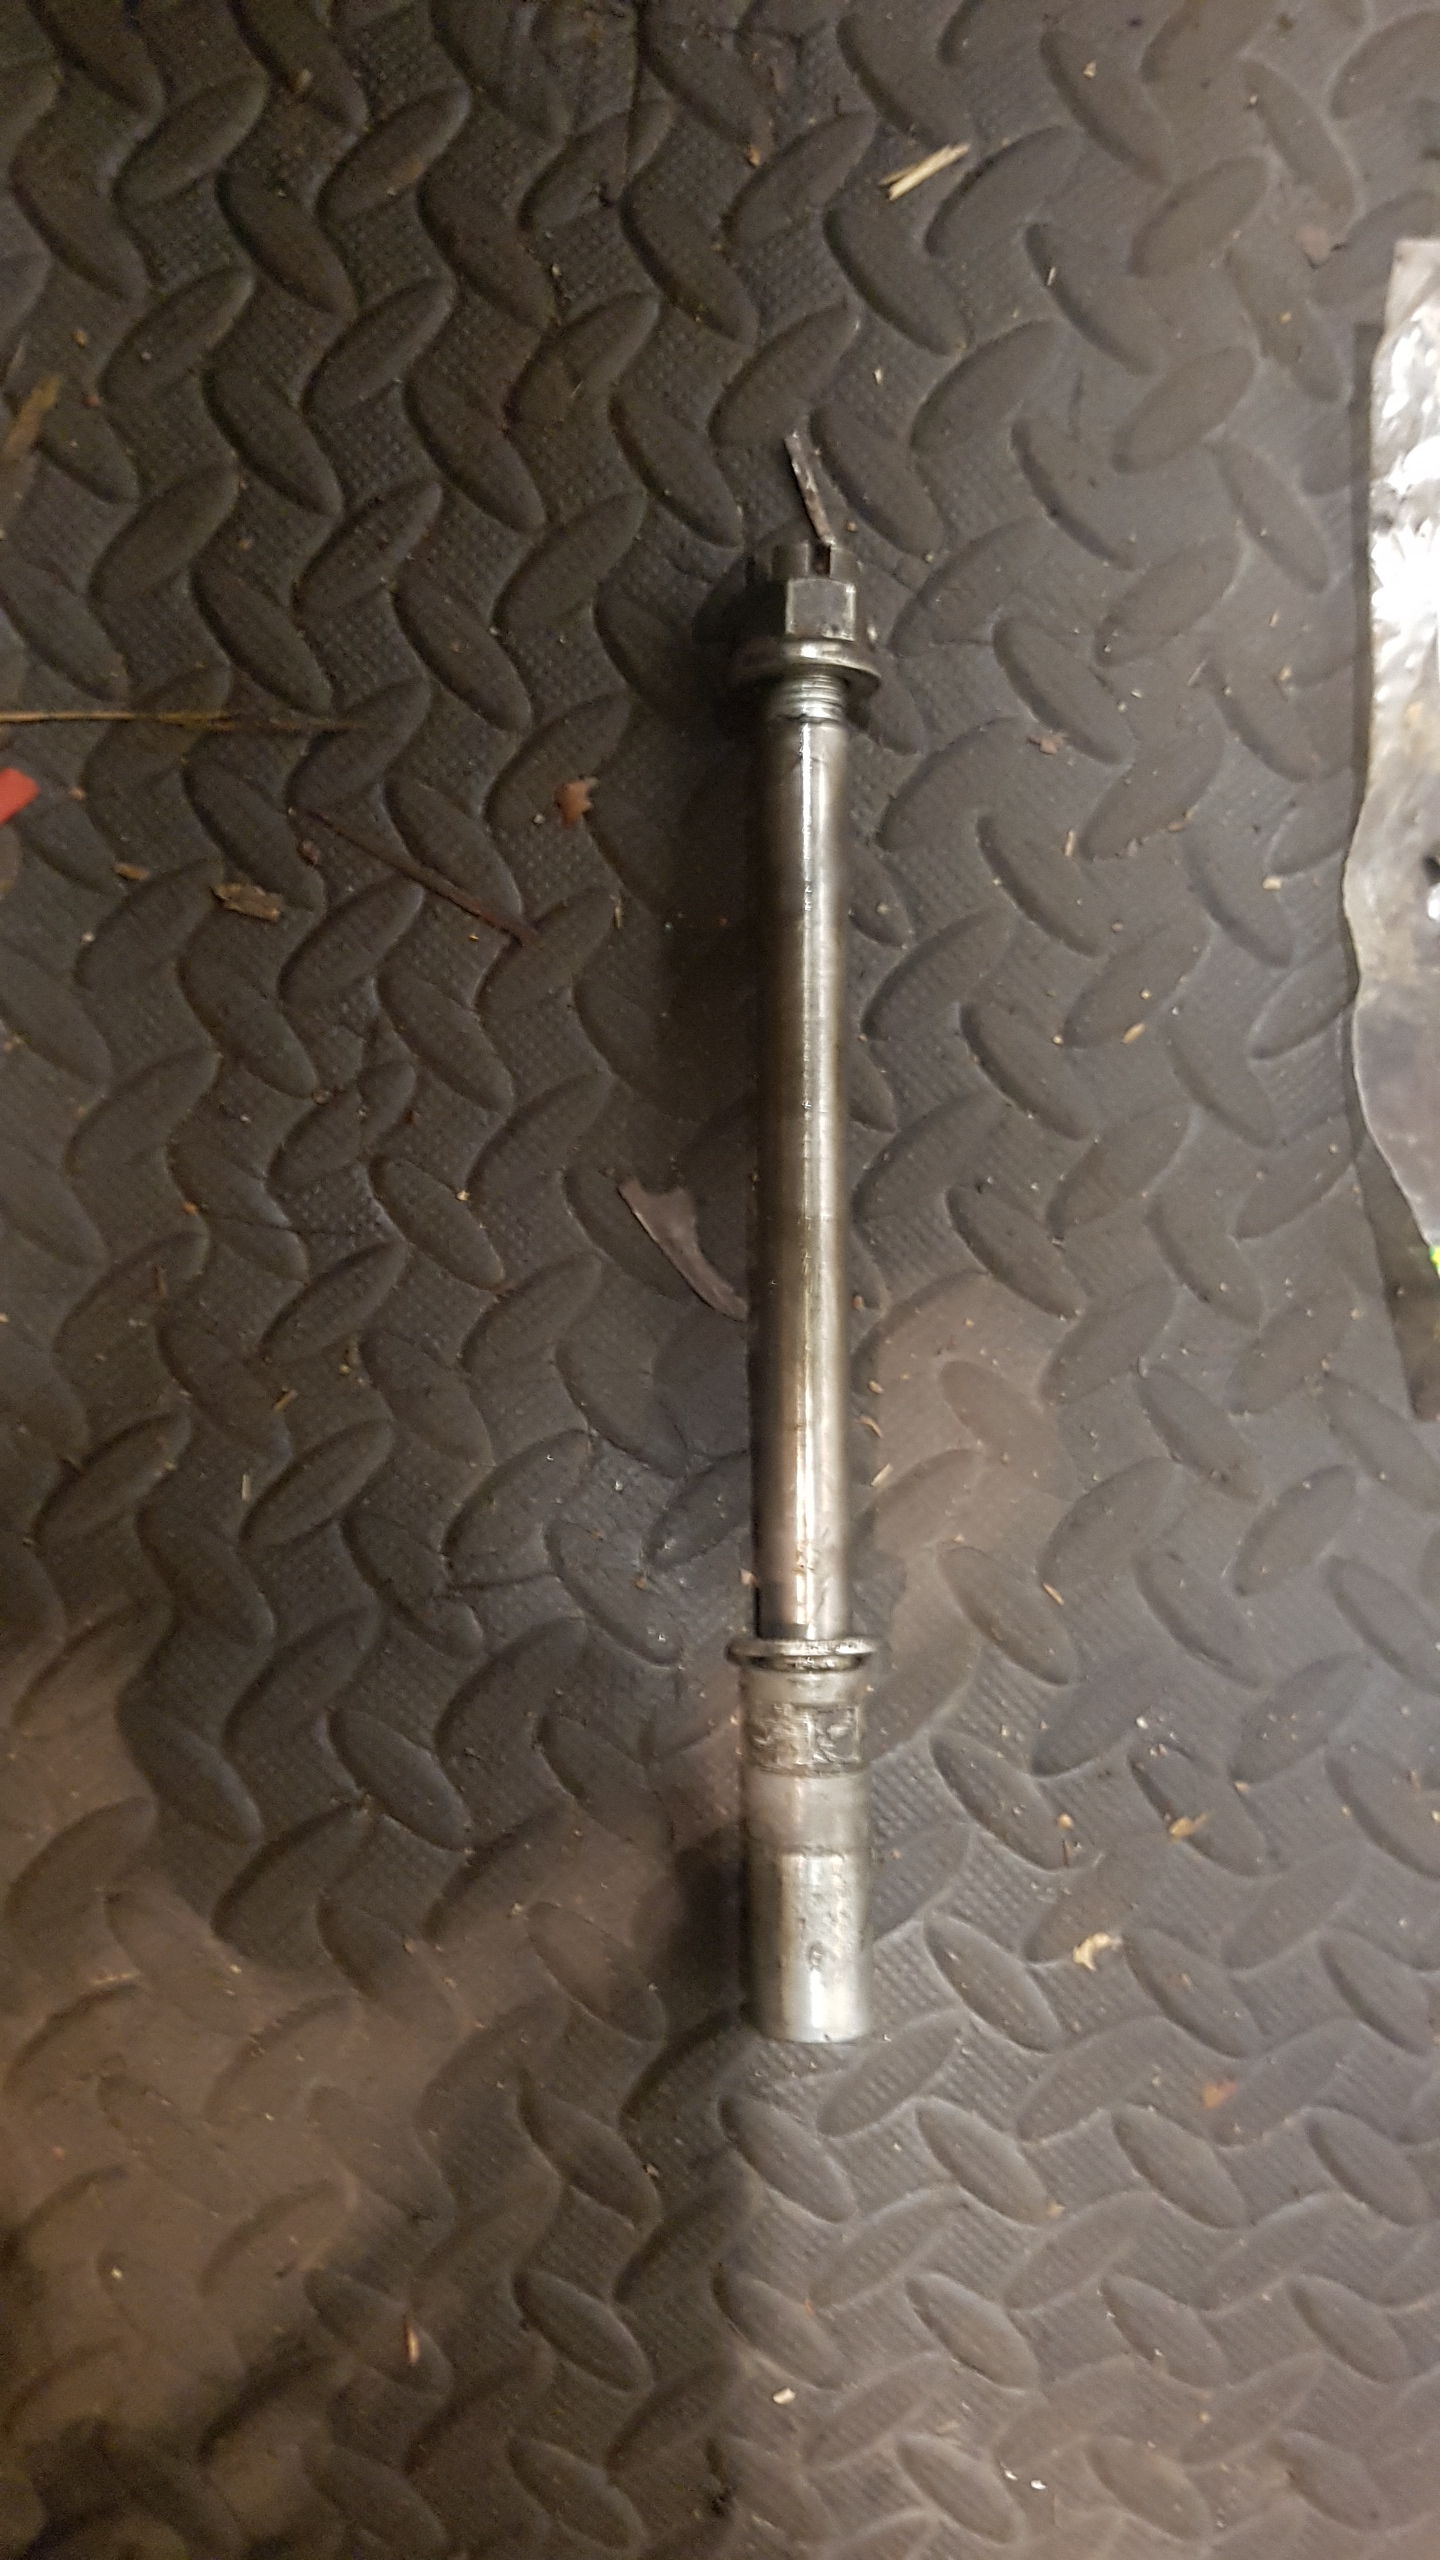
The front brake pad retaining pins had other ideas about my plan to replace the front brake pads, so I gave up on that for now. I applied a fresh coating of grease to the axle on the good wheel, maneuvered it into place and loosely fitted the castle nut.


After tightening the axle clamp on the right side, I secured the castle nut and replaced the split pin.


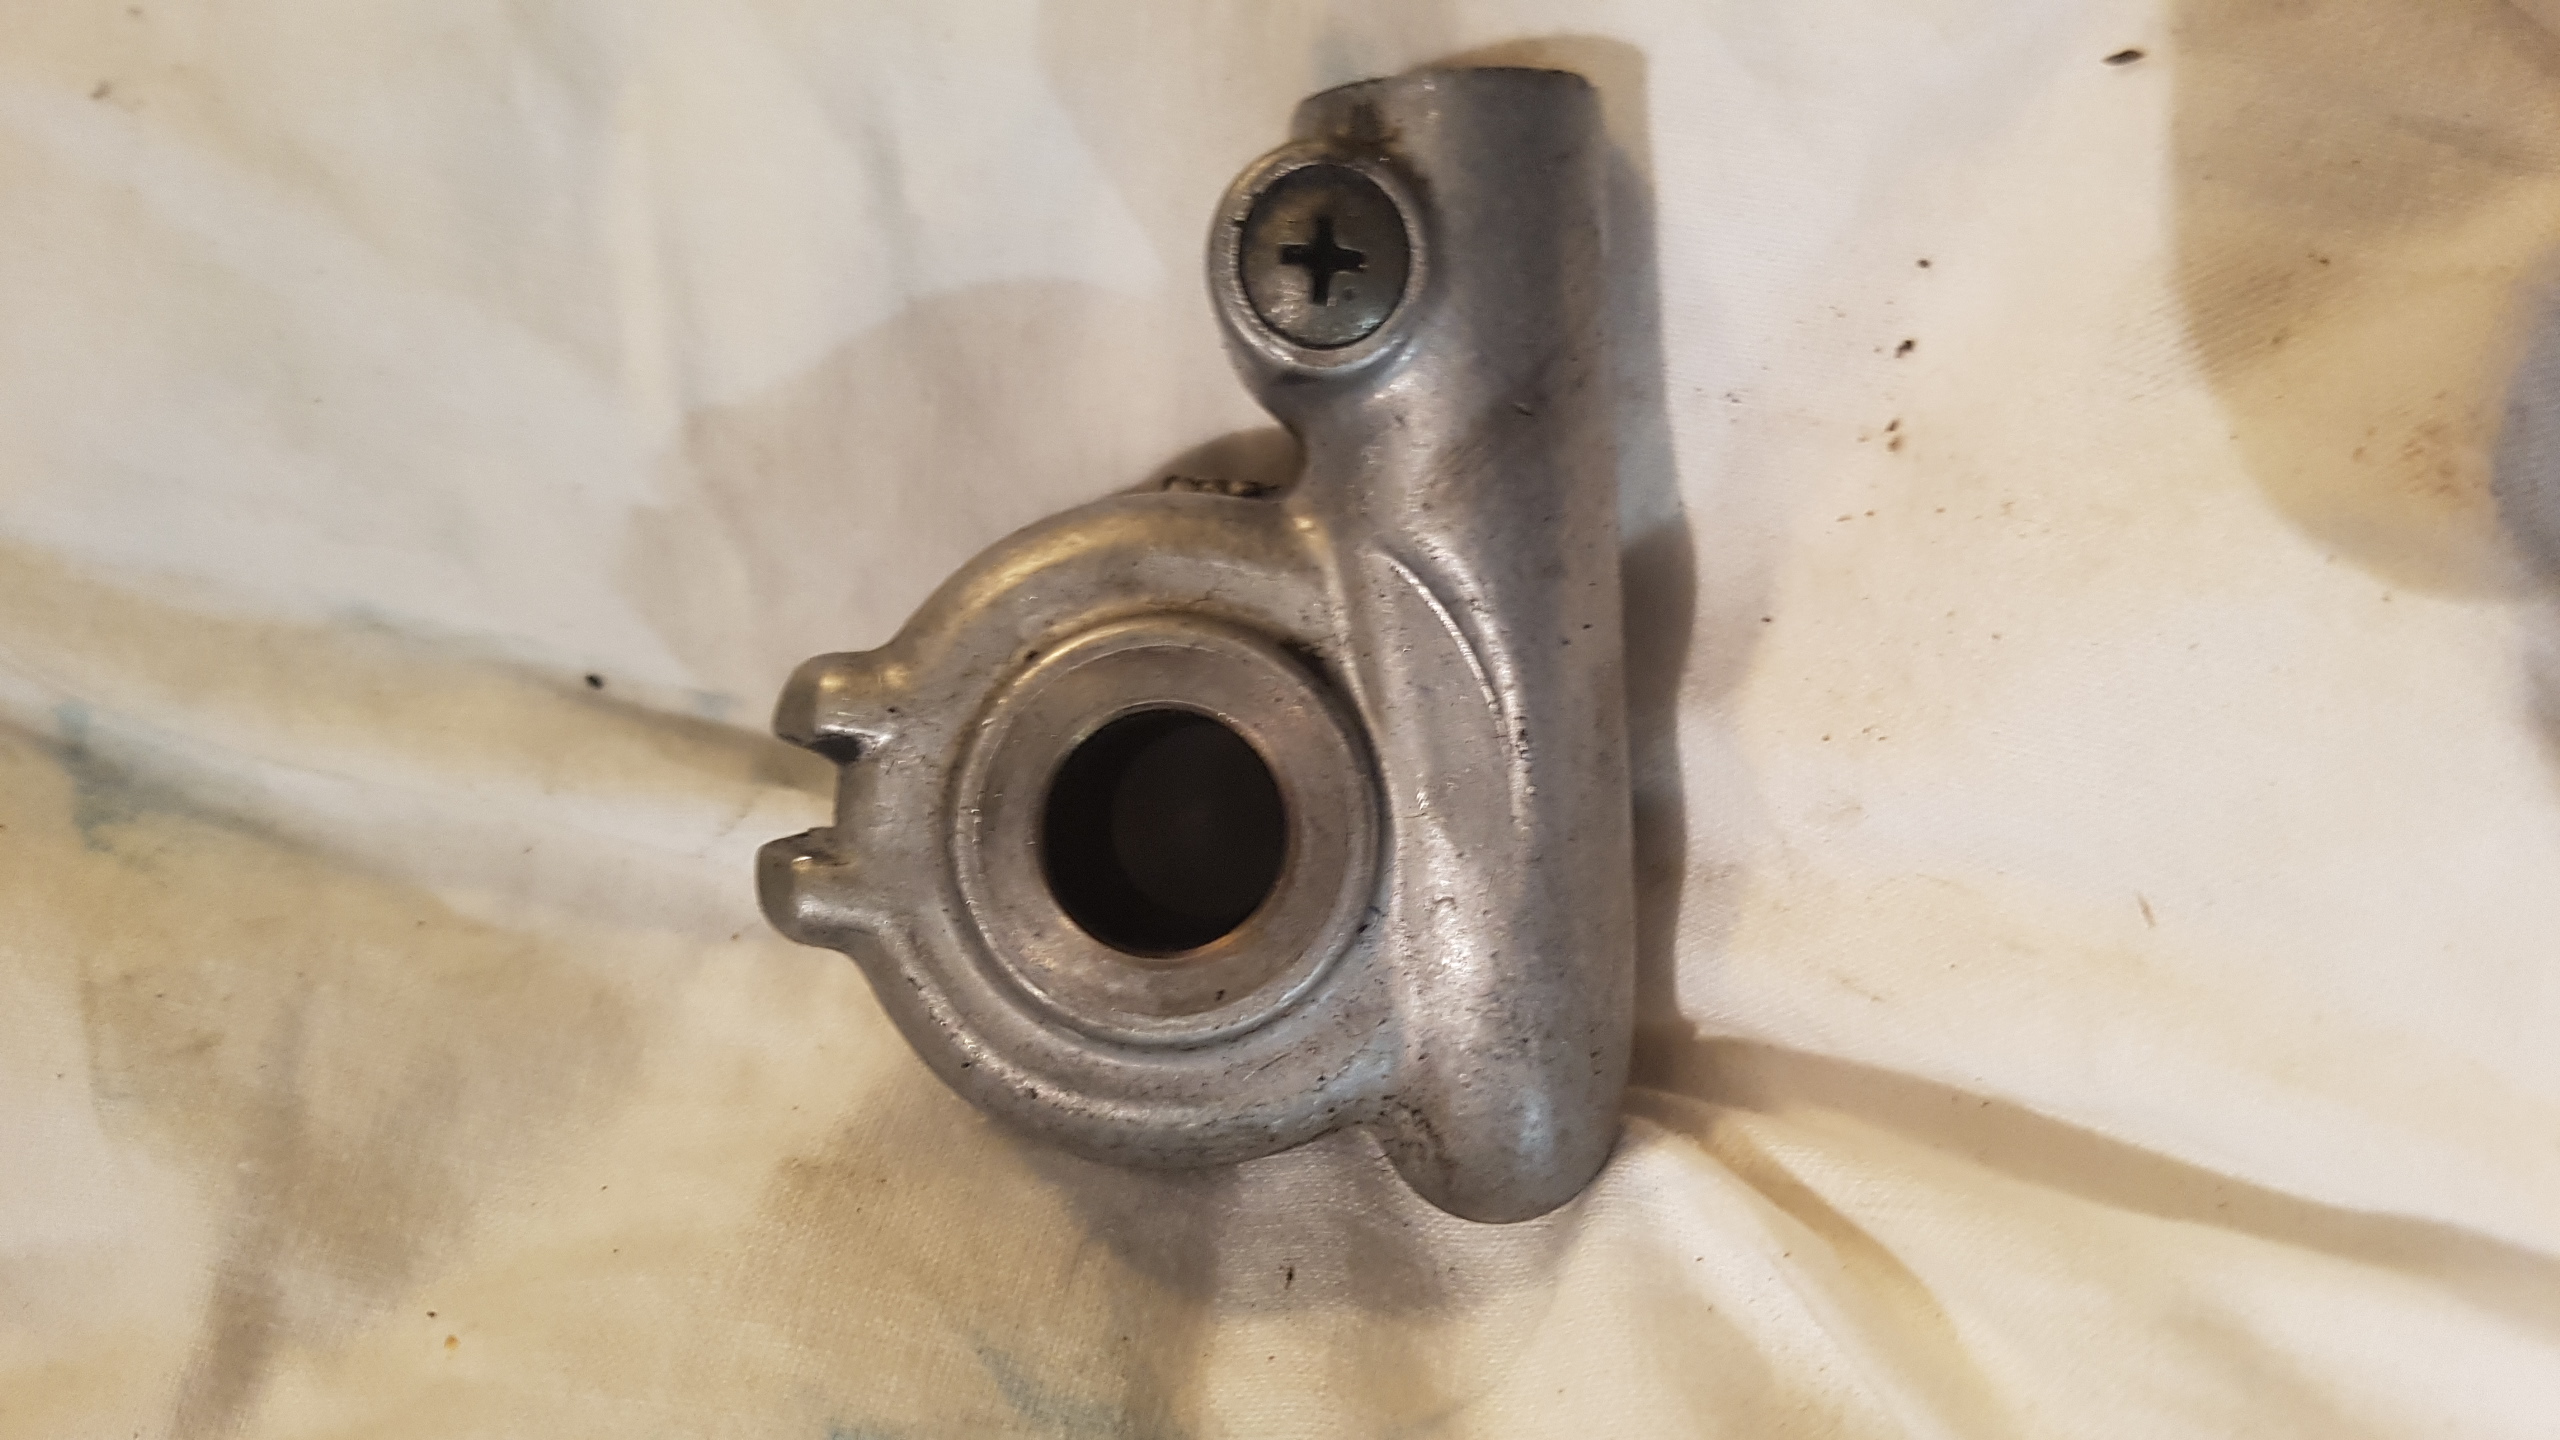
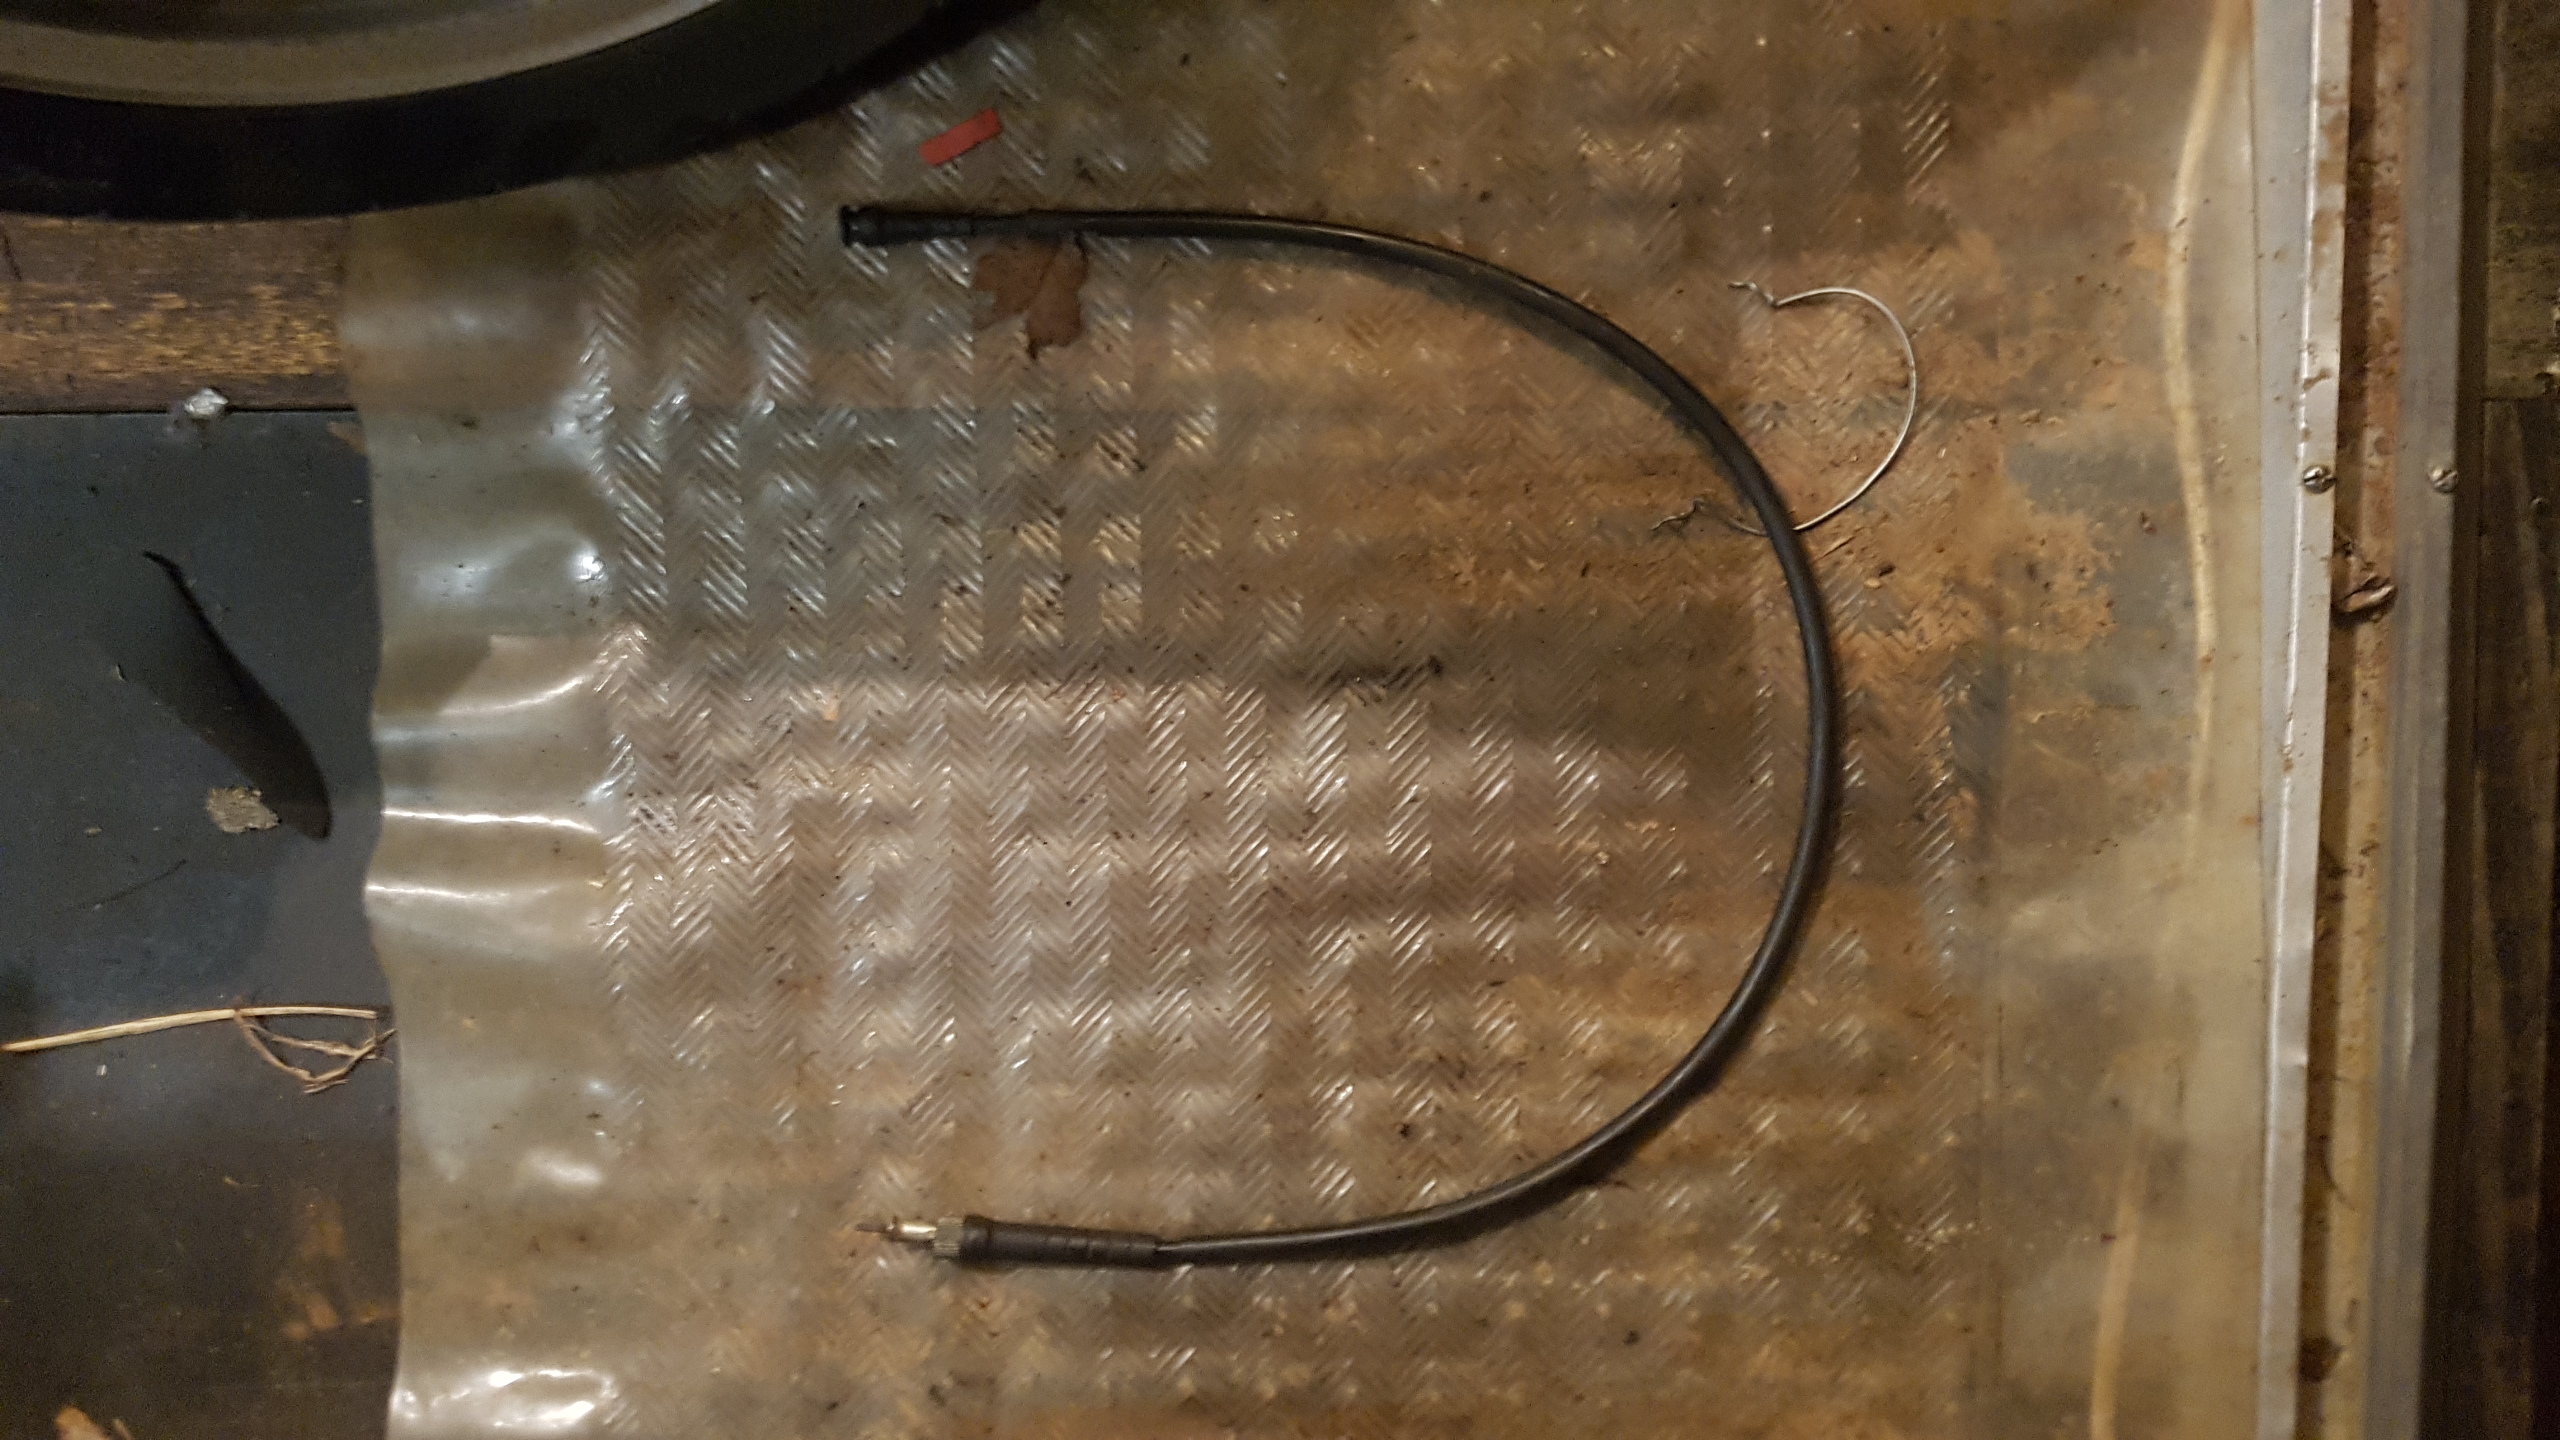
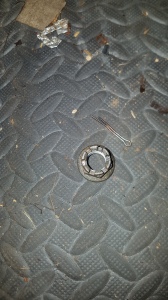
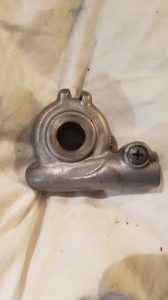
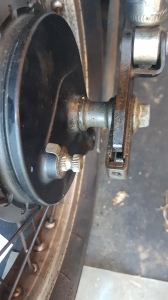
I cleaned up the spare speedo cable gear and found the speedo cable. The retaining screw was missing from the one I had fitted with the wheel, so I used the one from the spare.


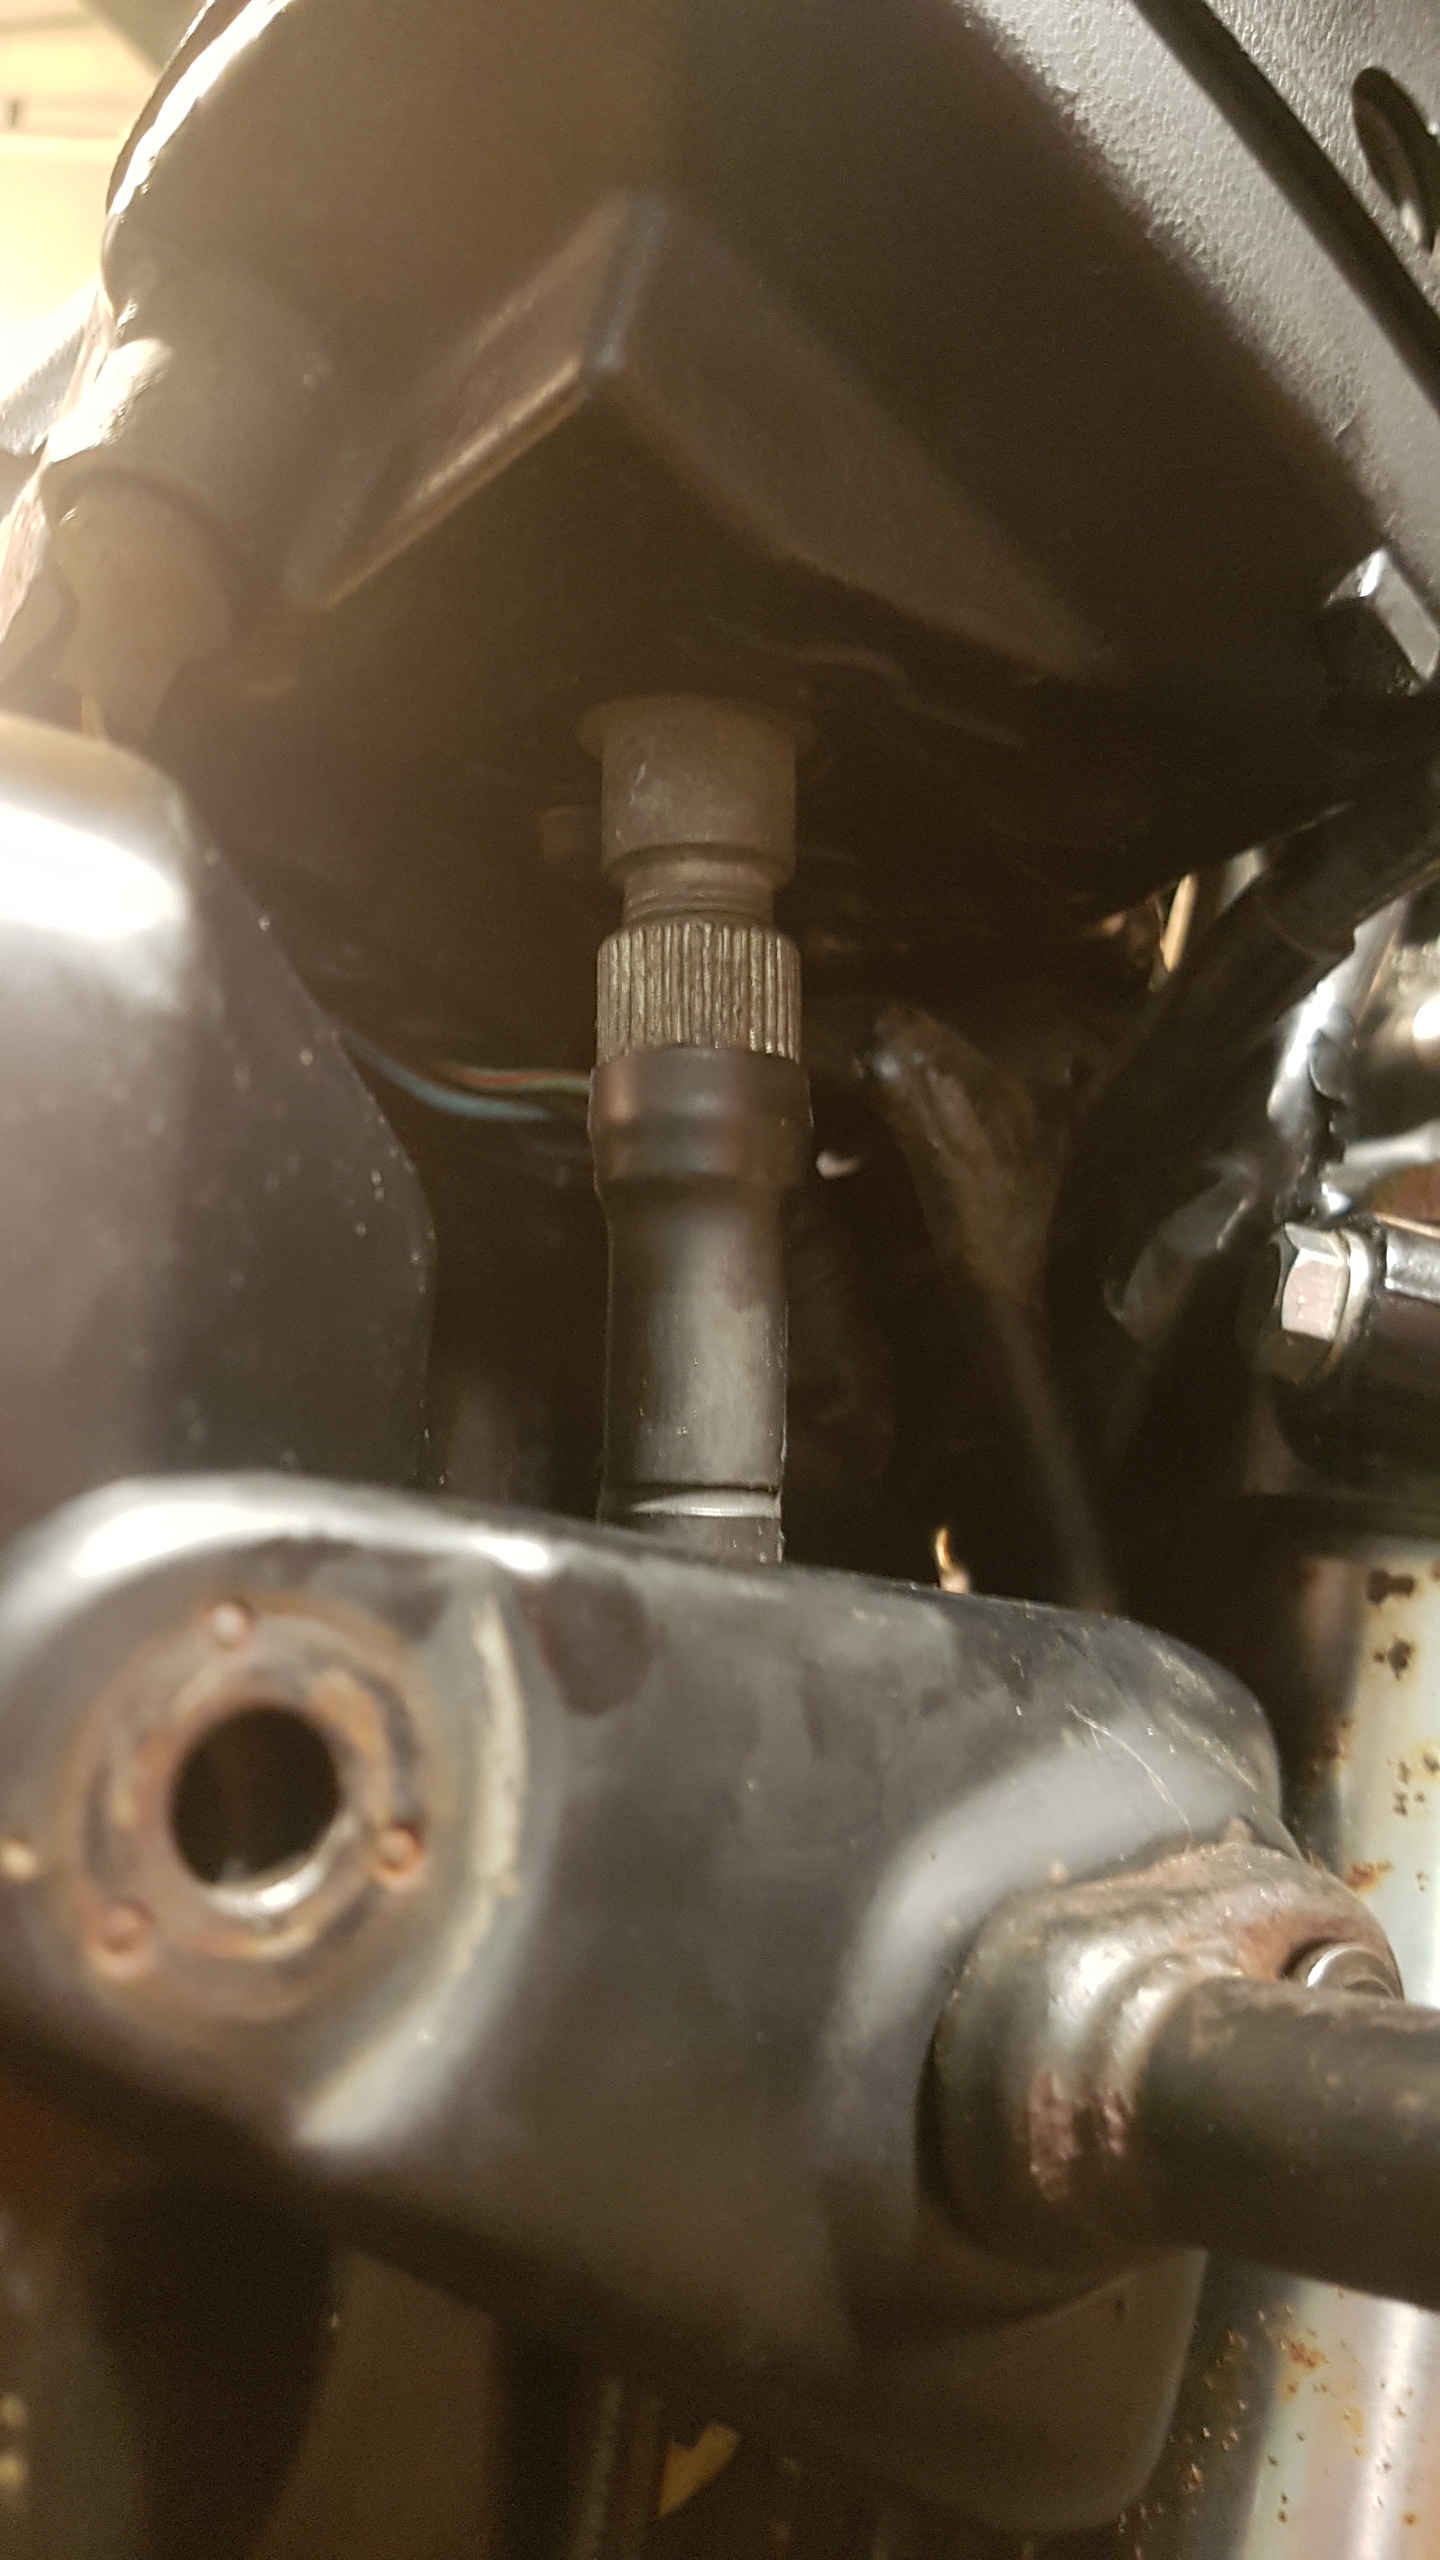
Speedo cable fitted at both ends!


While I was concentrating on the clocks, I fitted the tacho cable too.


It was getting somewhat late by this stage, so I left further work until the next day.
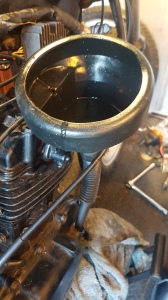
First order of business the next day was to make sure I put oil in, so I don’t forget before attempting to start the bike again! I opted for generic supermarket 10w50, as it’s cheap and doesn’t have come with fancy friction modifiers and additives that make most modern motor oils unsuitable for wet clutches. Regular readers may remember these as the “attachments” referred to in the CBF250 Shop Manual while troubleshooting Jack’s clutch slippage!

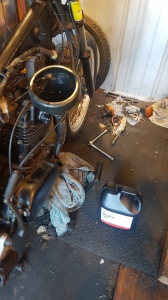
After filling up the oil enough for a cold engine, I popped the black tank and the red duck-tail and seat on, to remind myself how close I was to completion.


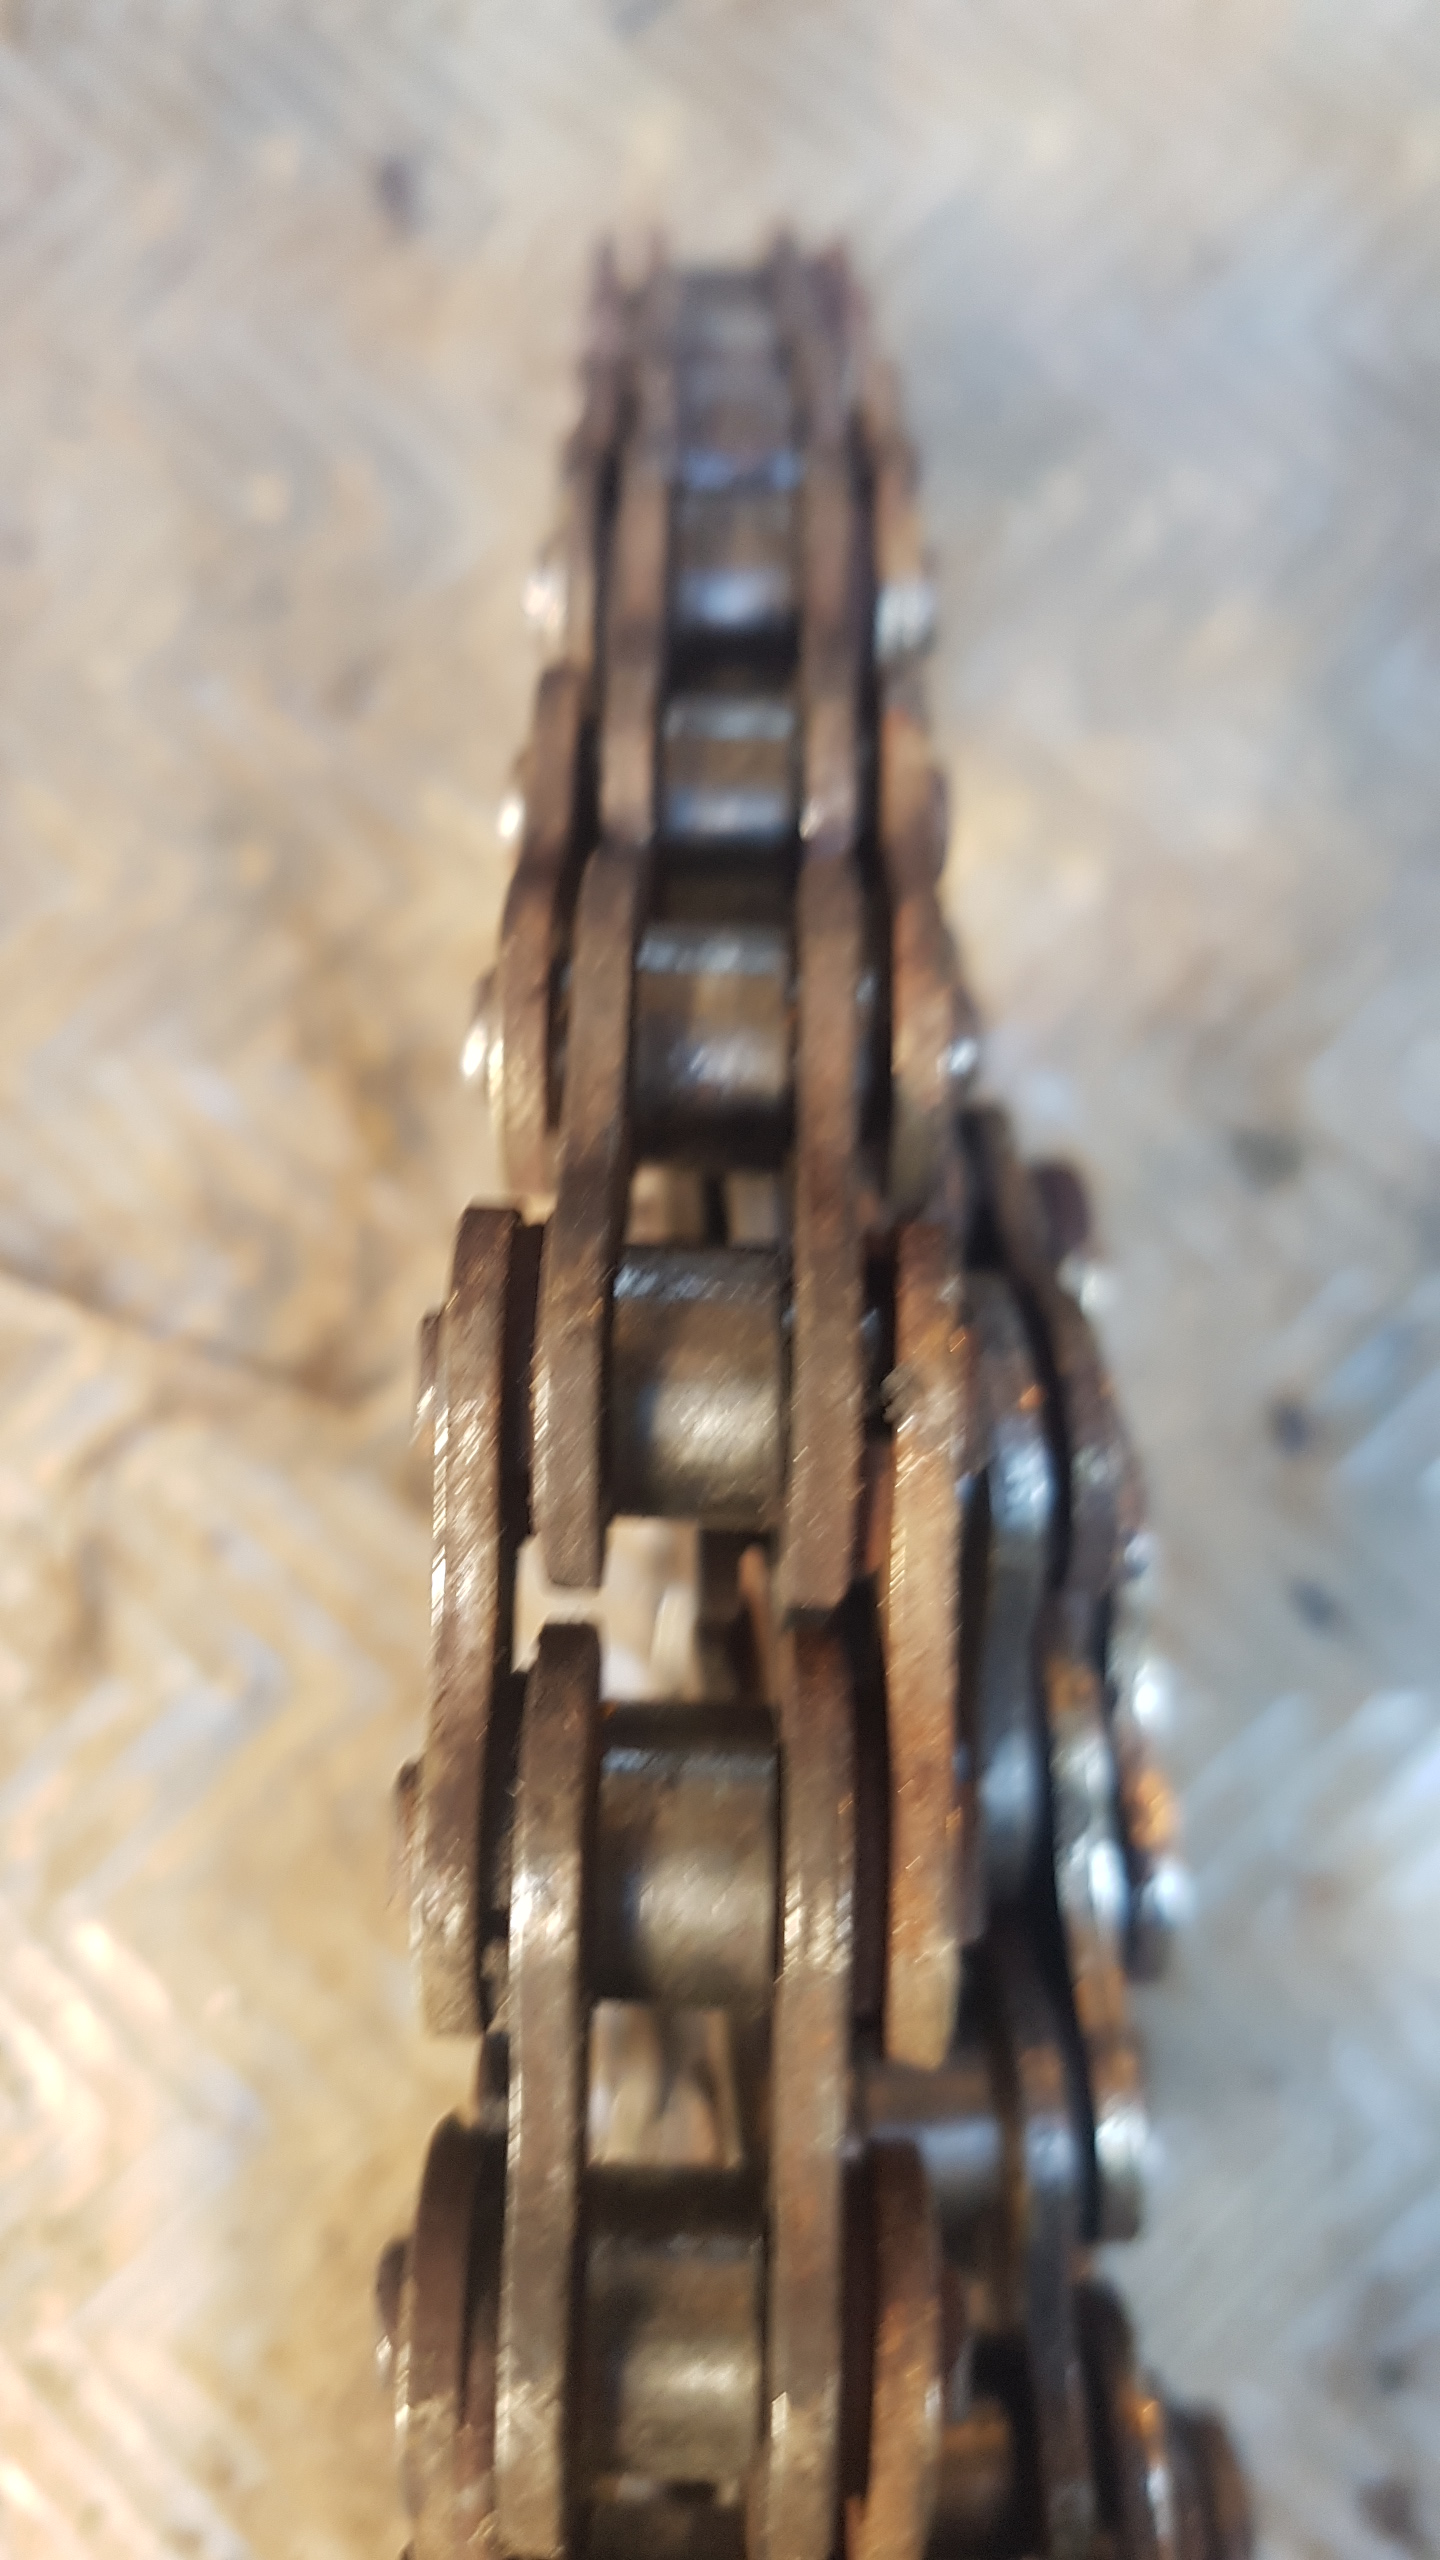
I removed the chain from the donor bike and after a quick inspection and a shake I decided not to re-use it. The black crescents in the middle image are all the perished o-rings that fell out when I shook the chain gently a few times. The close-up on the right shows how few o-rings are left.


I decided to keep the clip-style master link as a spare in case of chain emergencies if I don’t have a chain riveter handy.

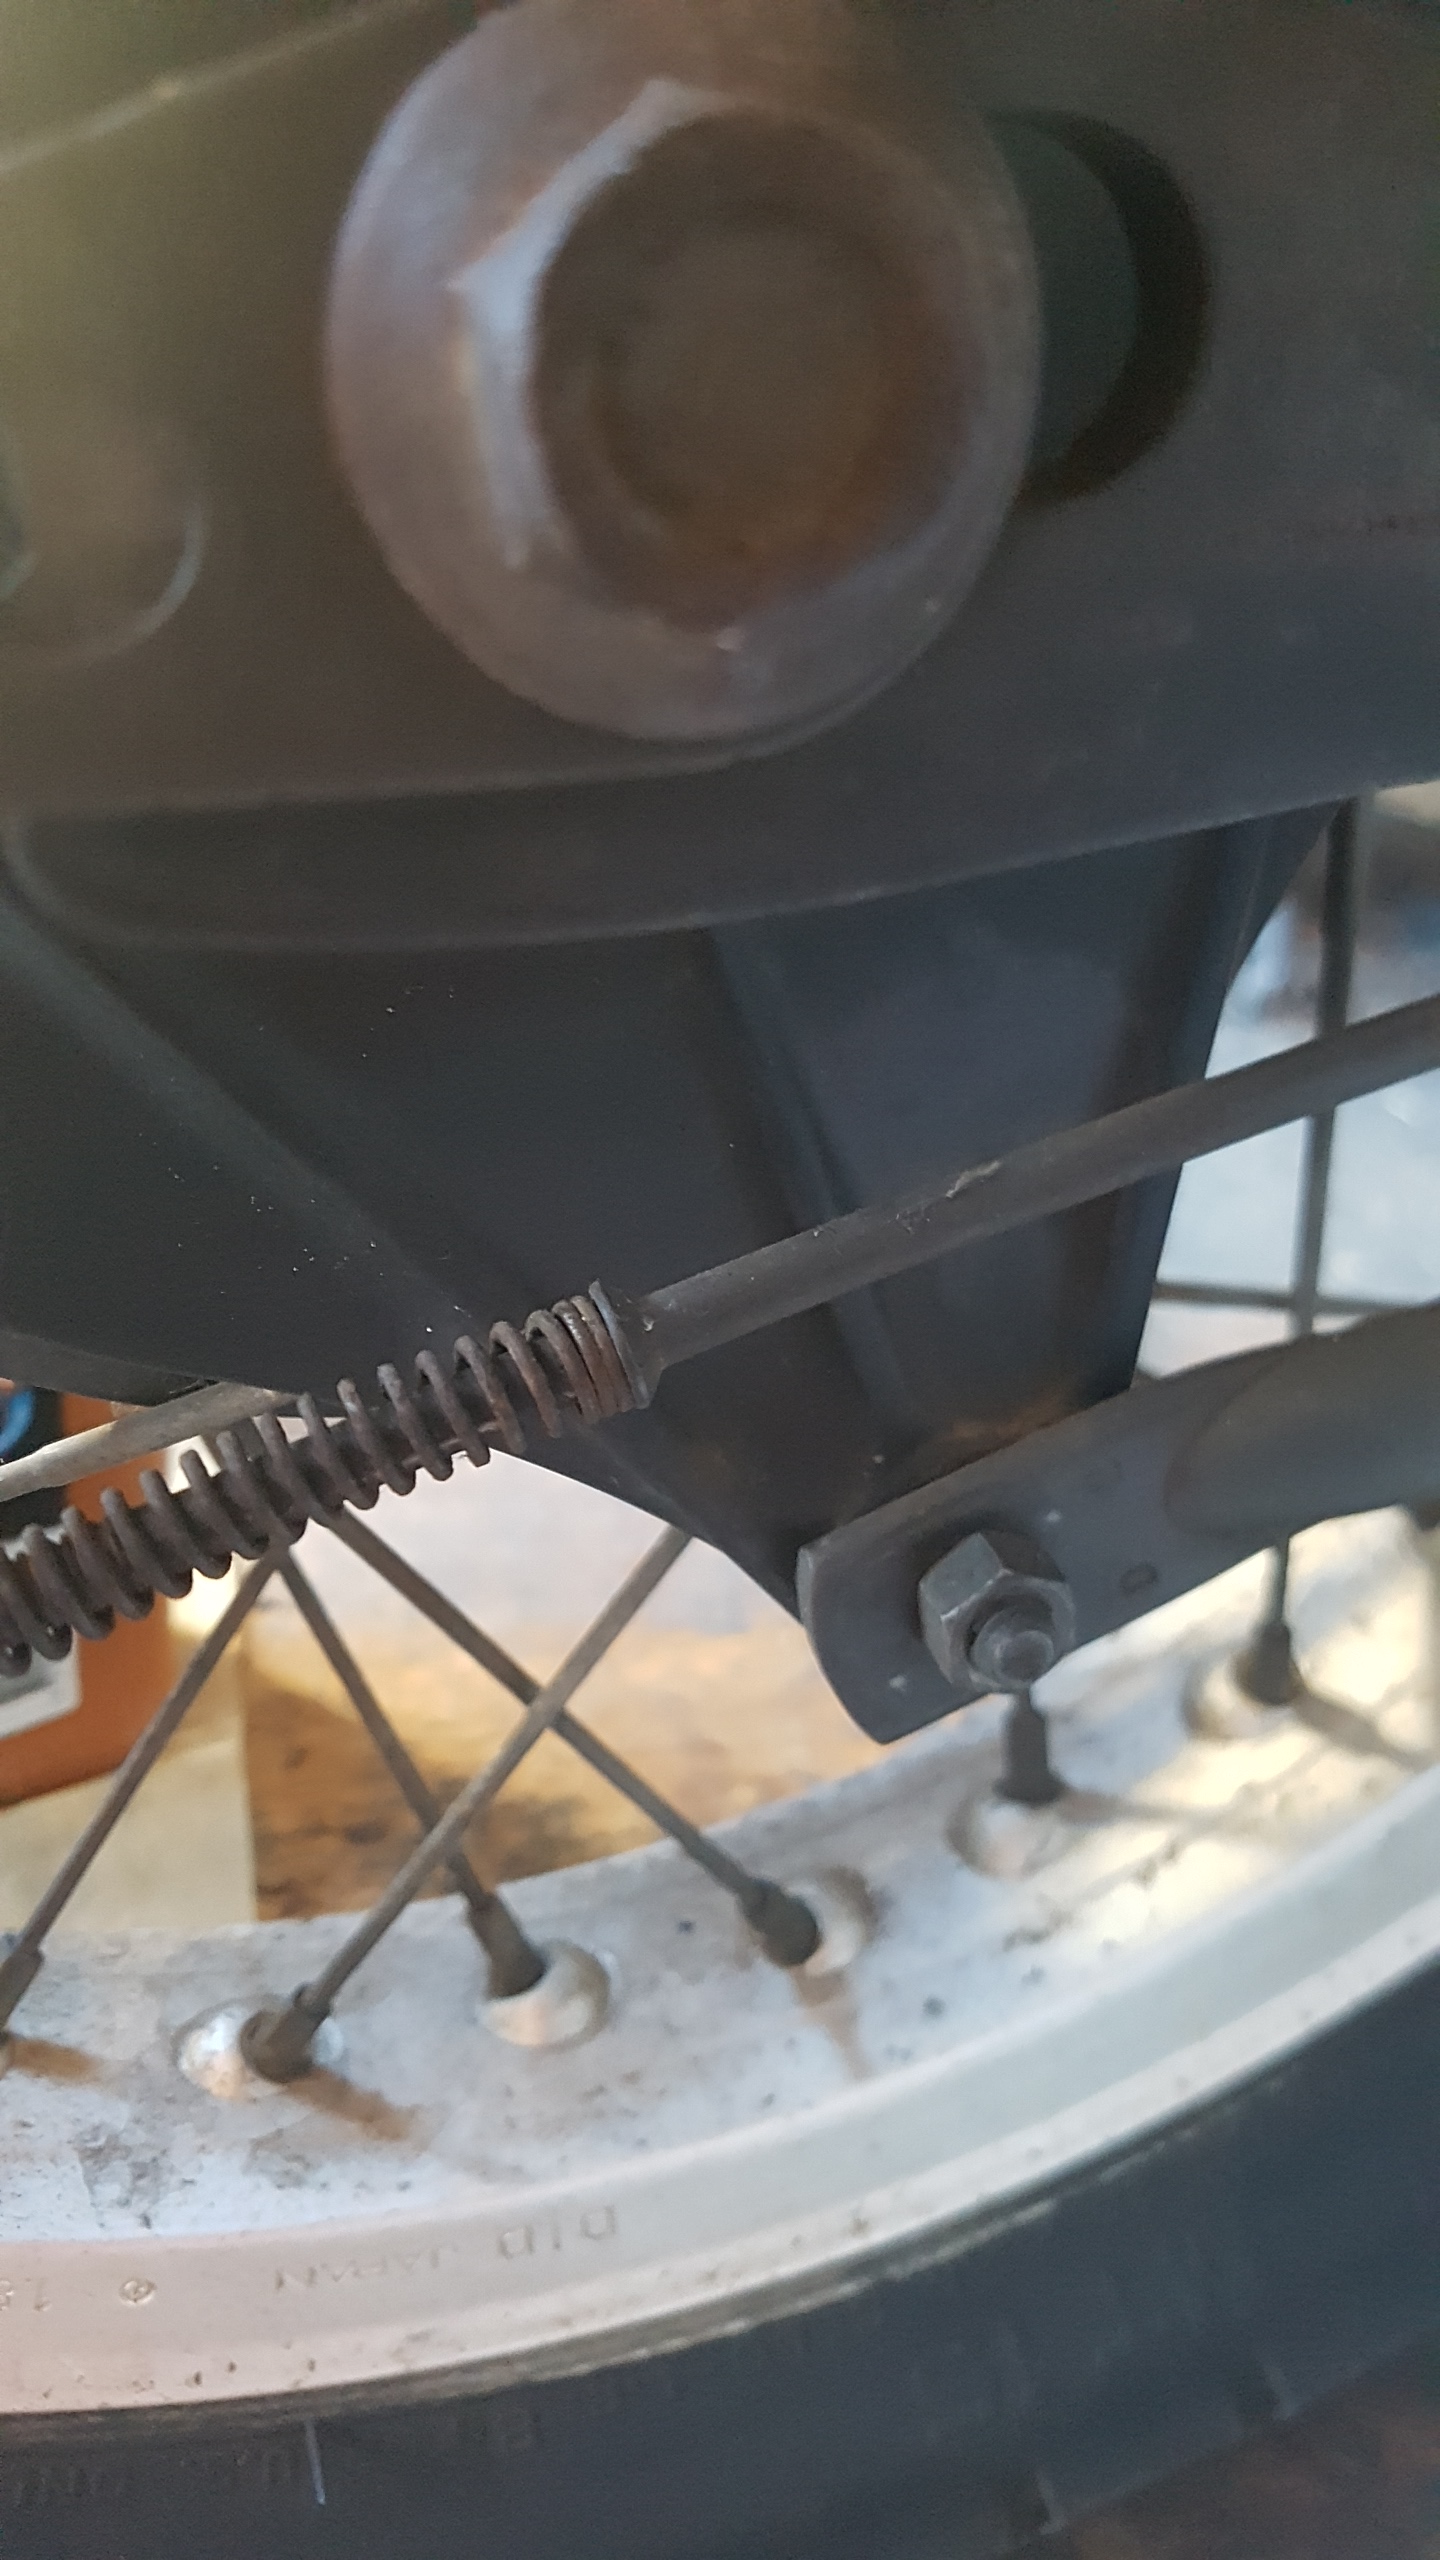
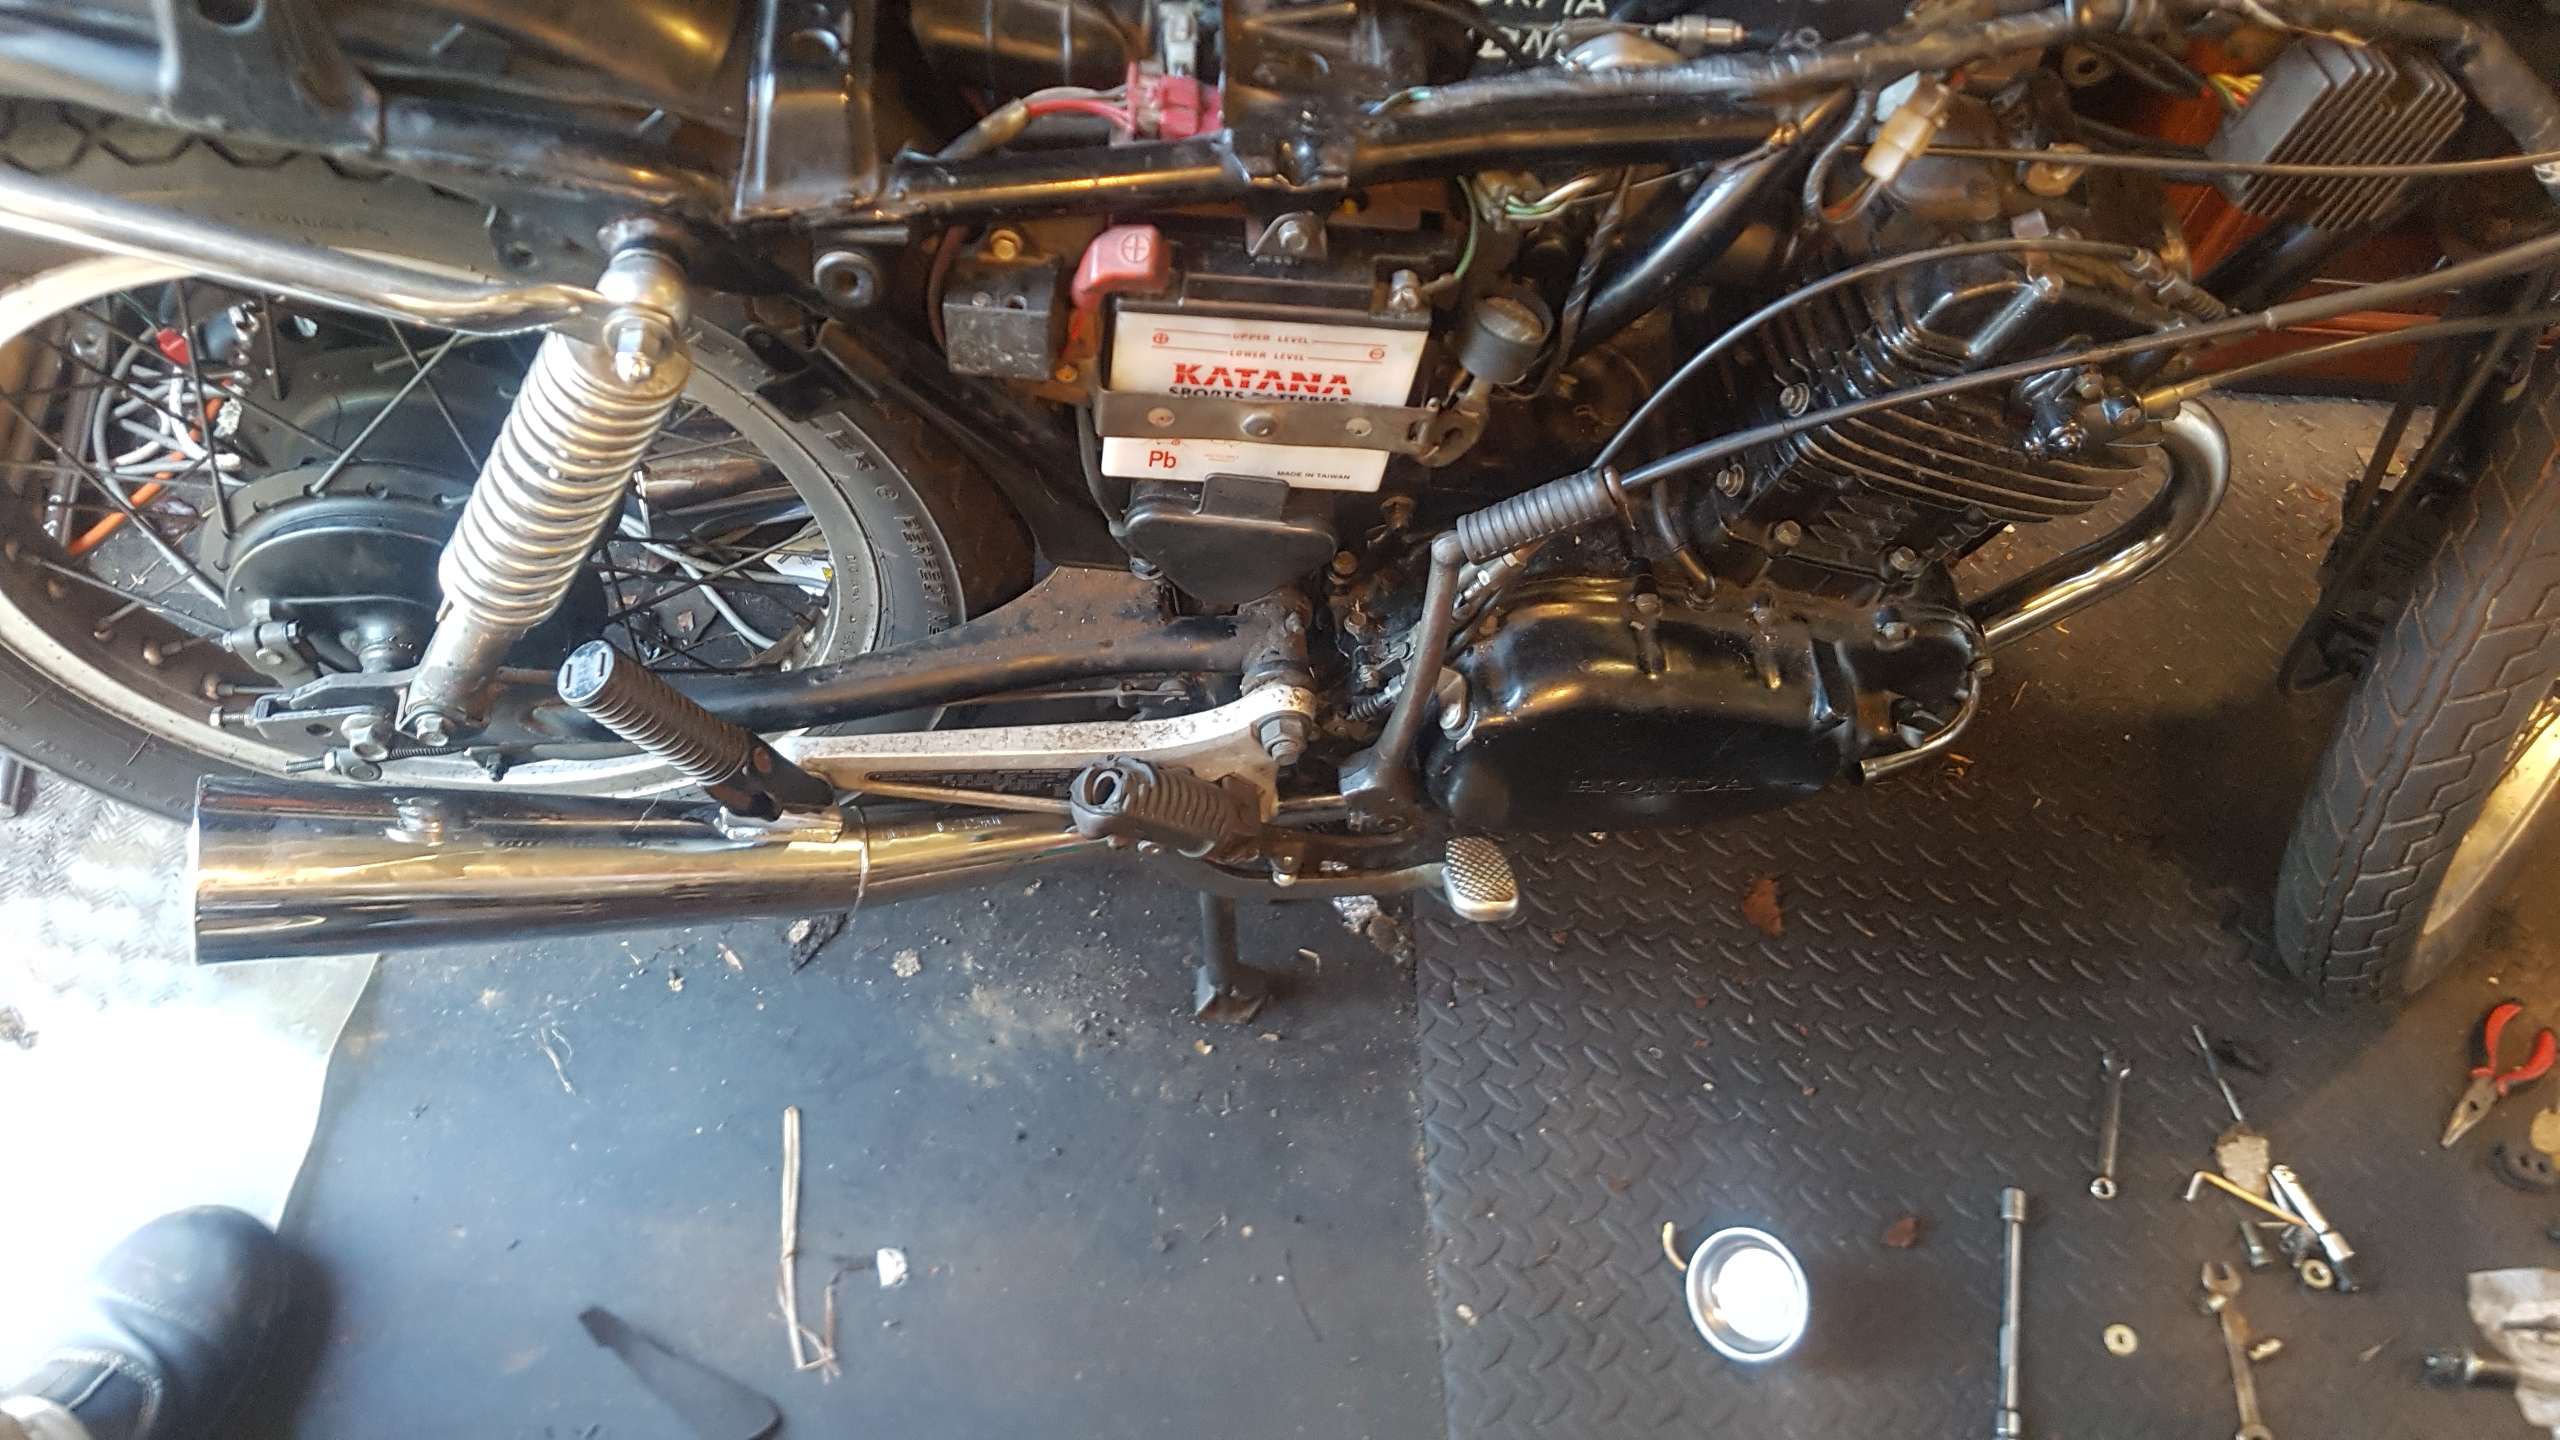
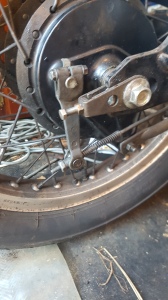
I figured even without a chain it would be useful to have a working rear brake again, so I started with the stay bar.
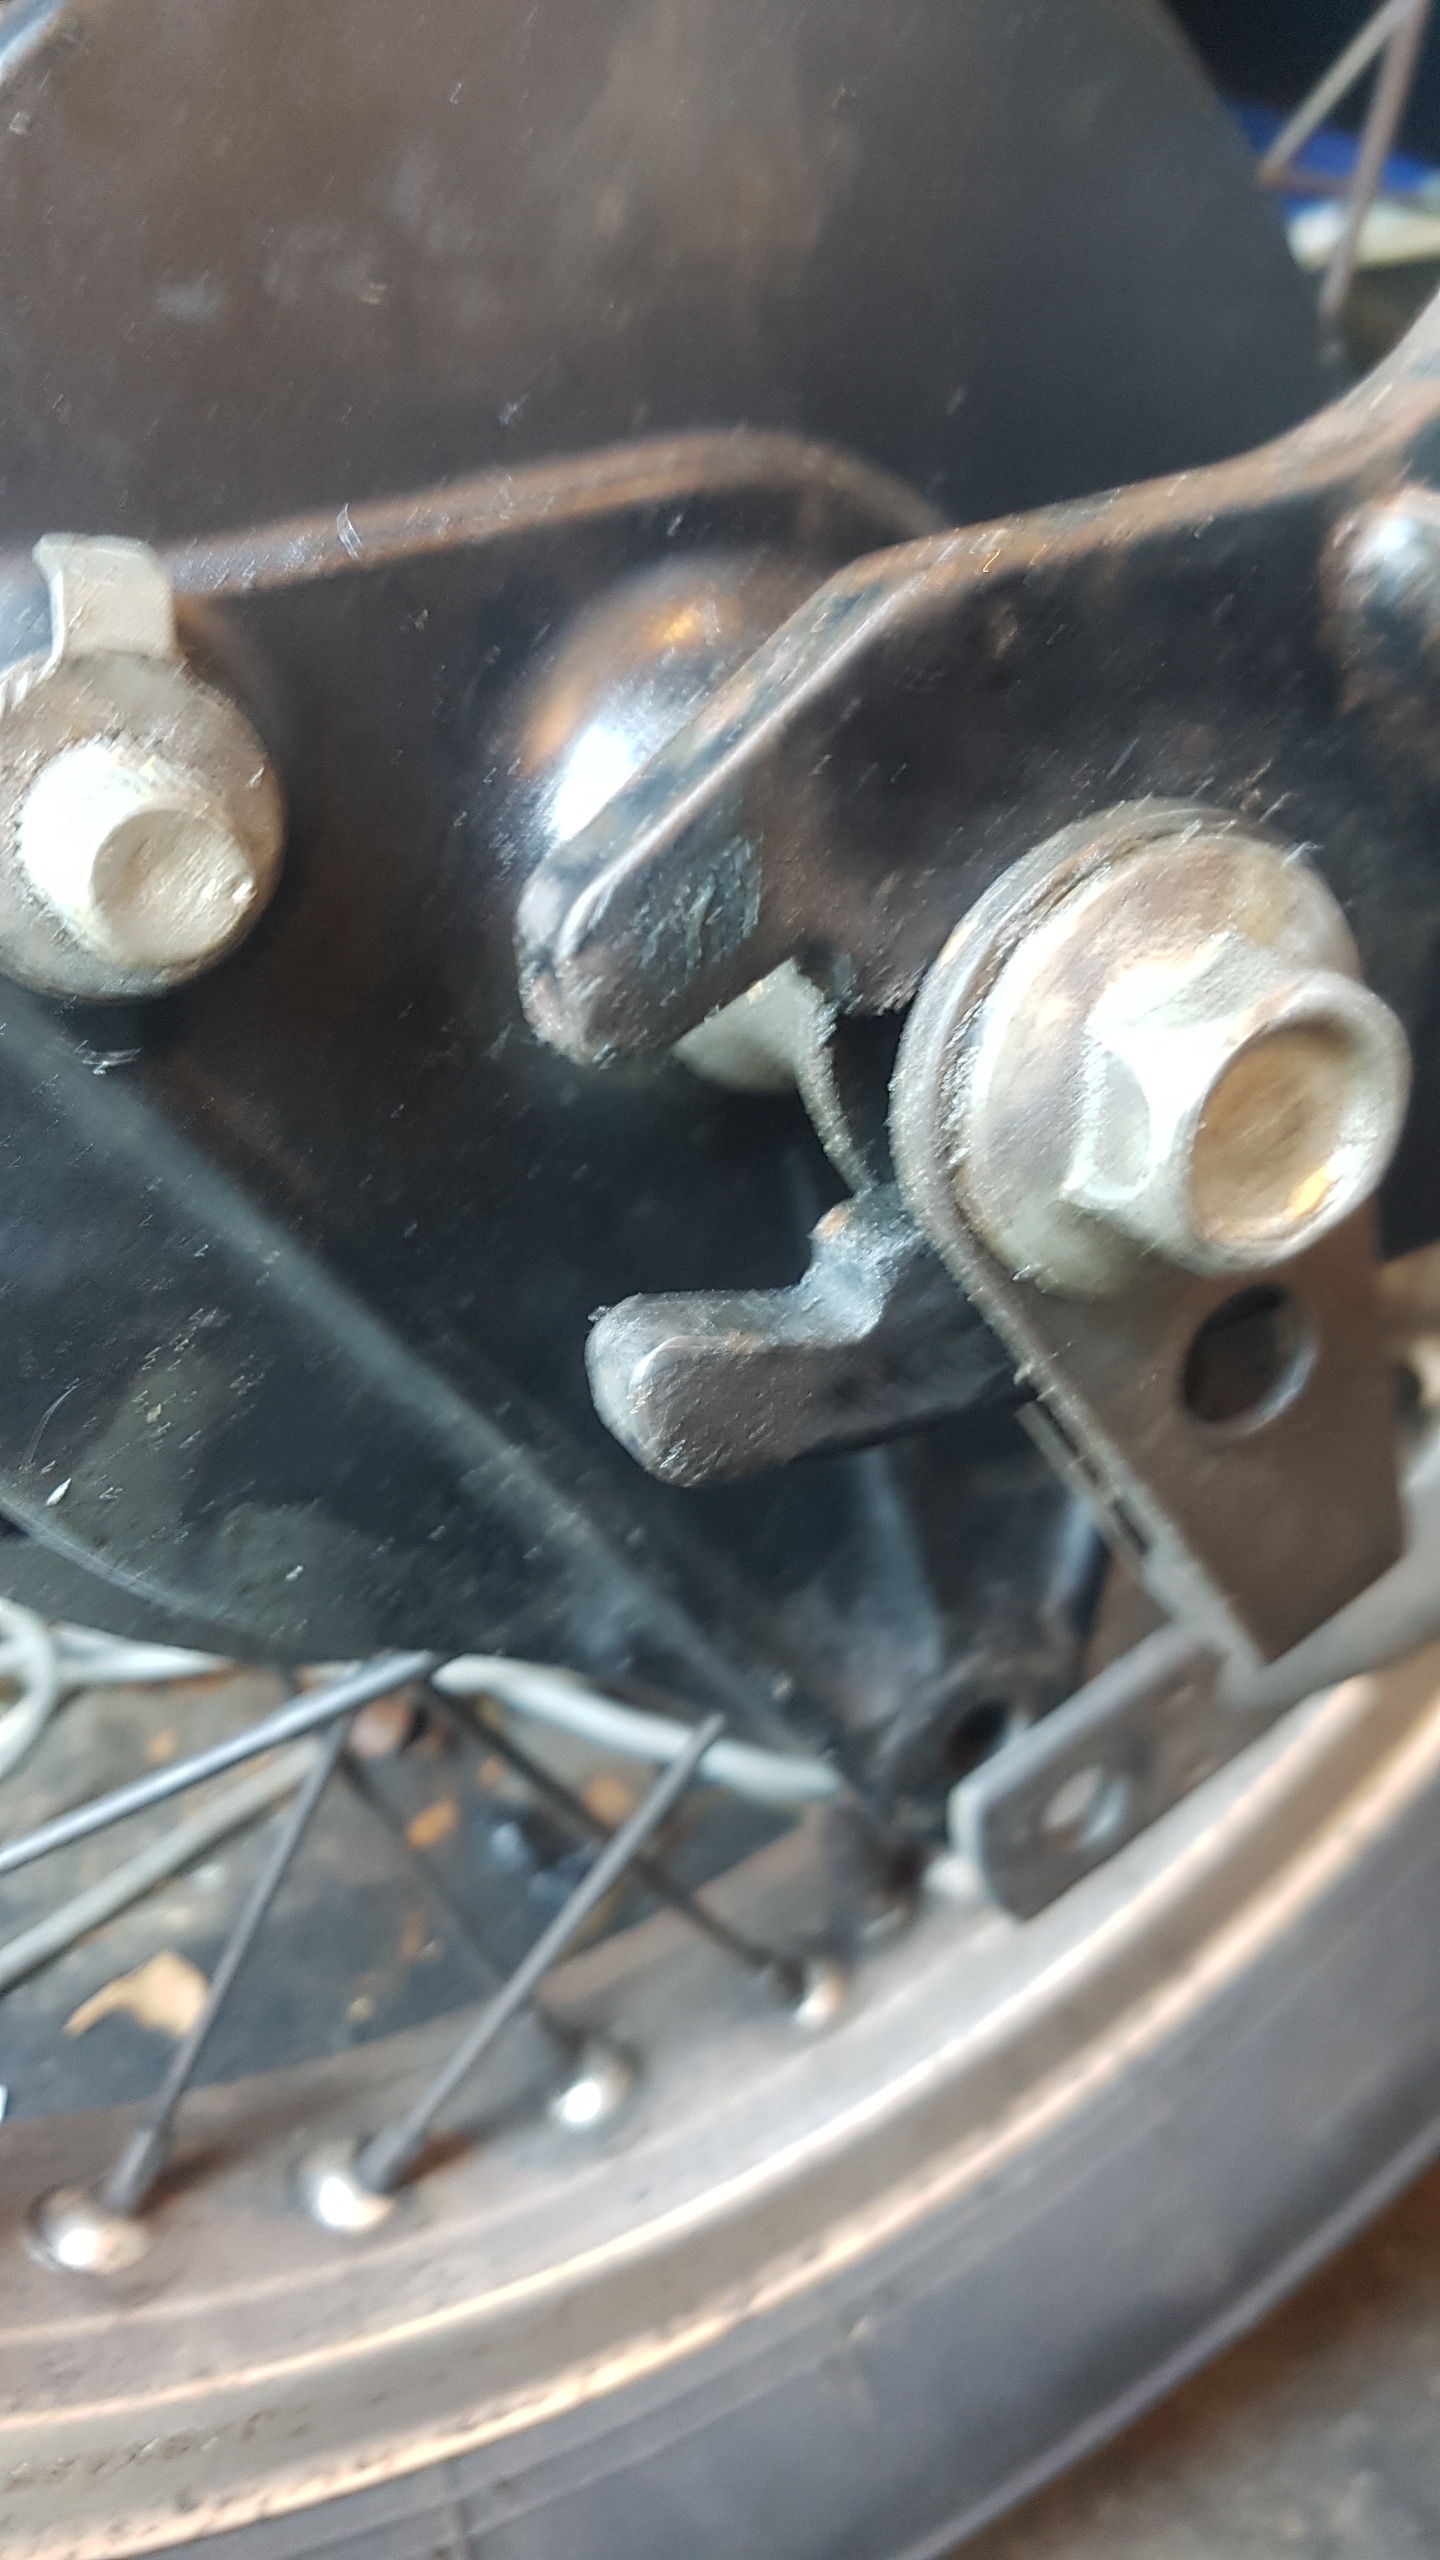
Moving further back, I saw the right side mounting plate was missing.
I realised the rear wheel stay bar wasn’t going to do much if the rear wheel wasn’t securely attached, so I removed the parts I needed from the donor bike.


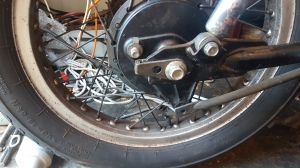
I fitted the axle stopper plate, chain tensioning bolt and rear brake arm.


I fitted the rear brake rod – making sure all springs were in the right places – and reconnected the.rear wheel stay bar.


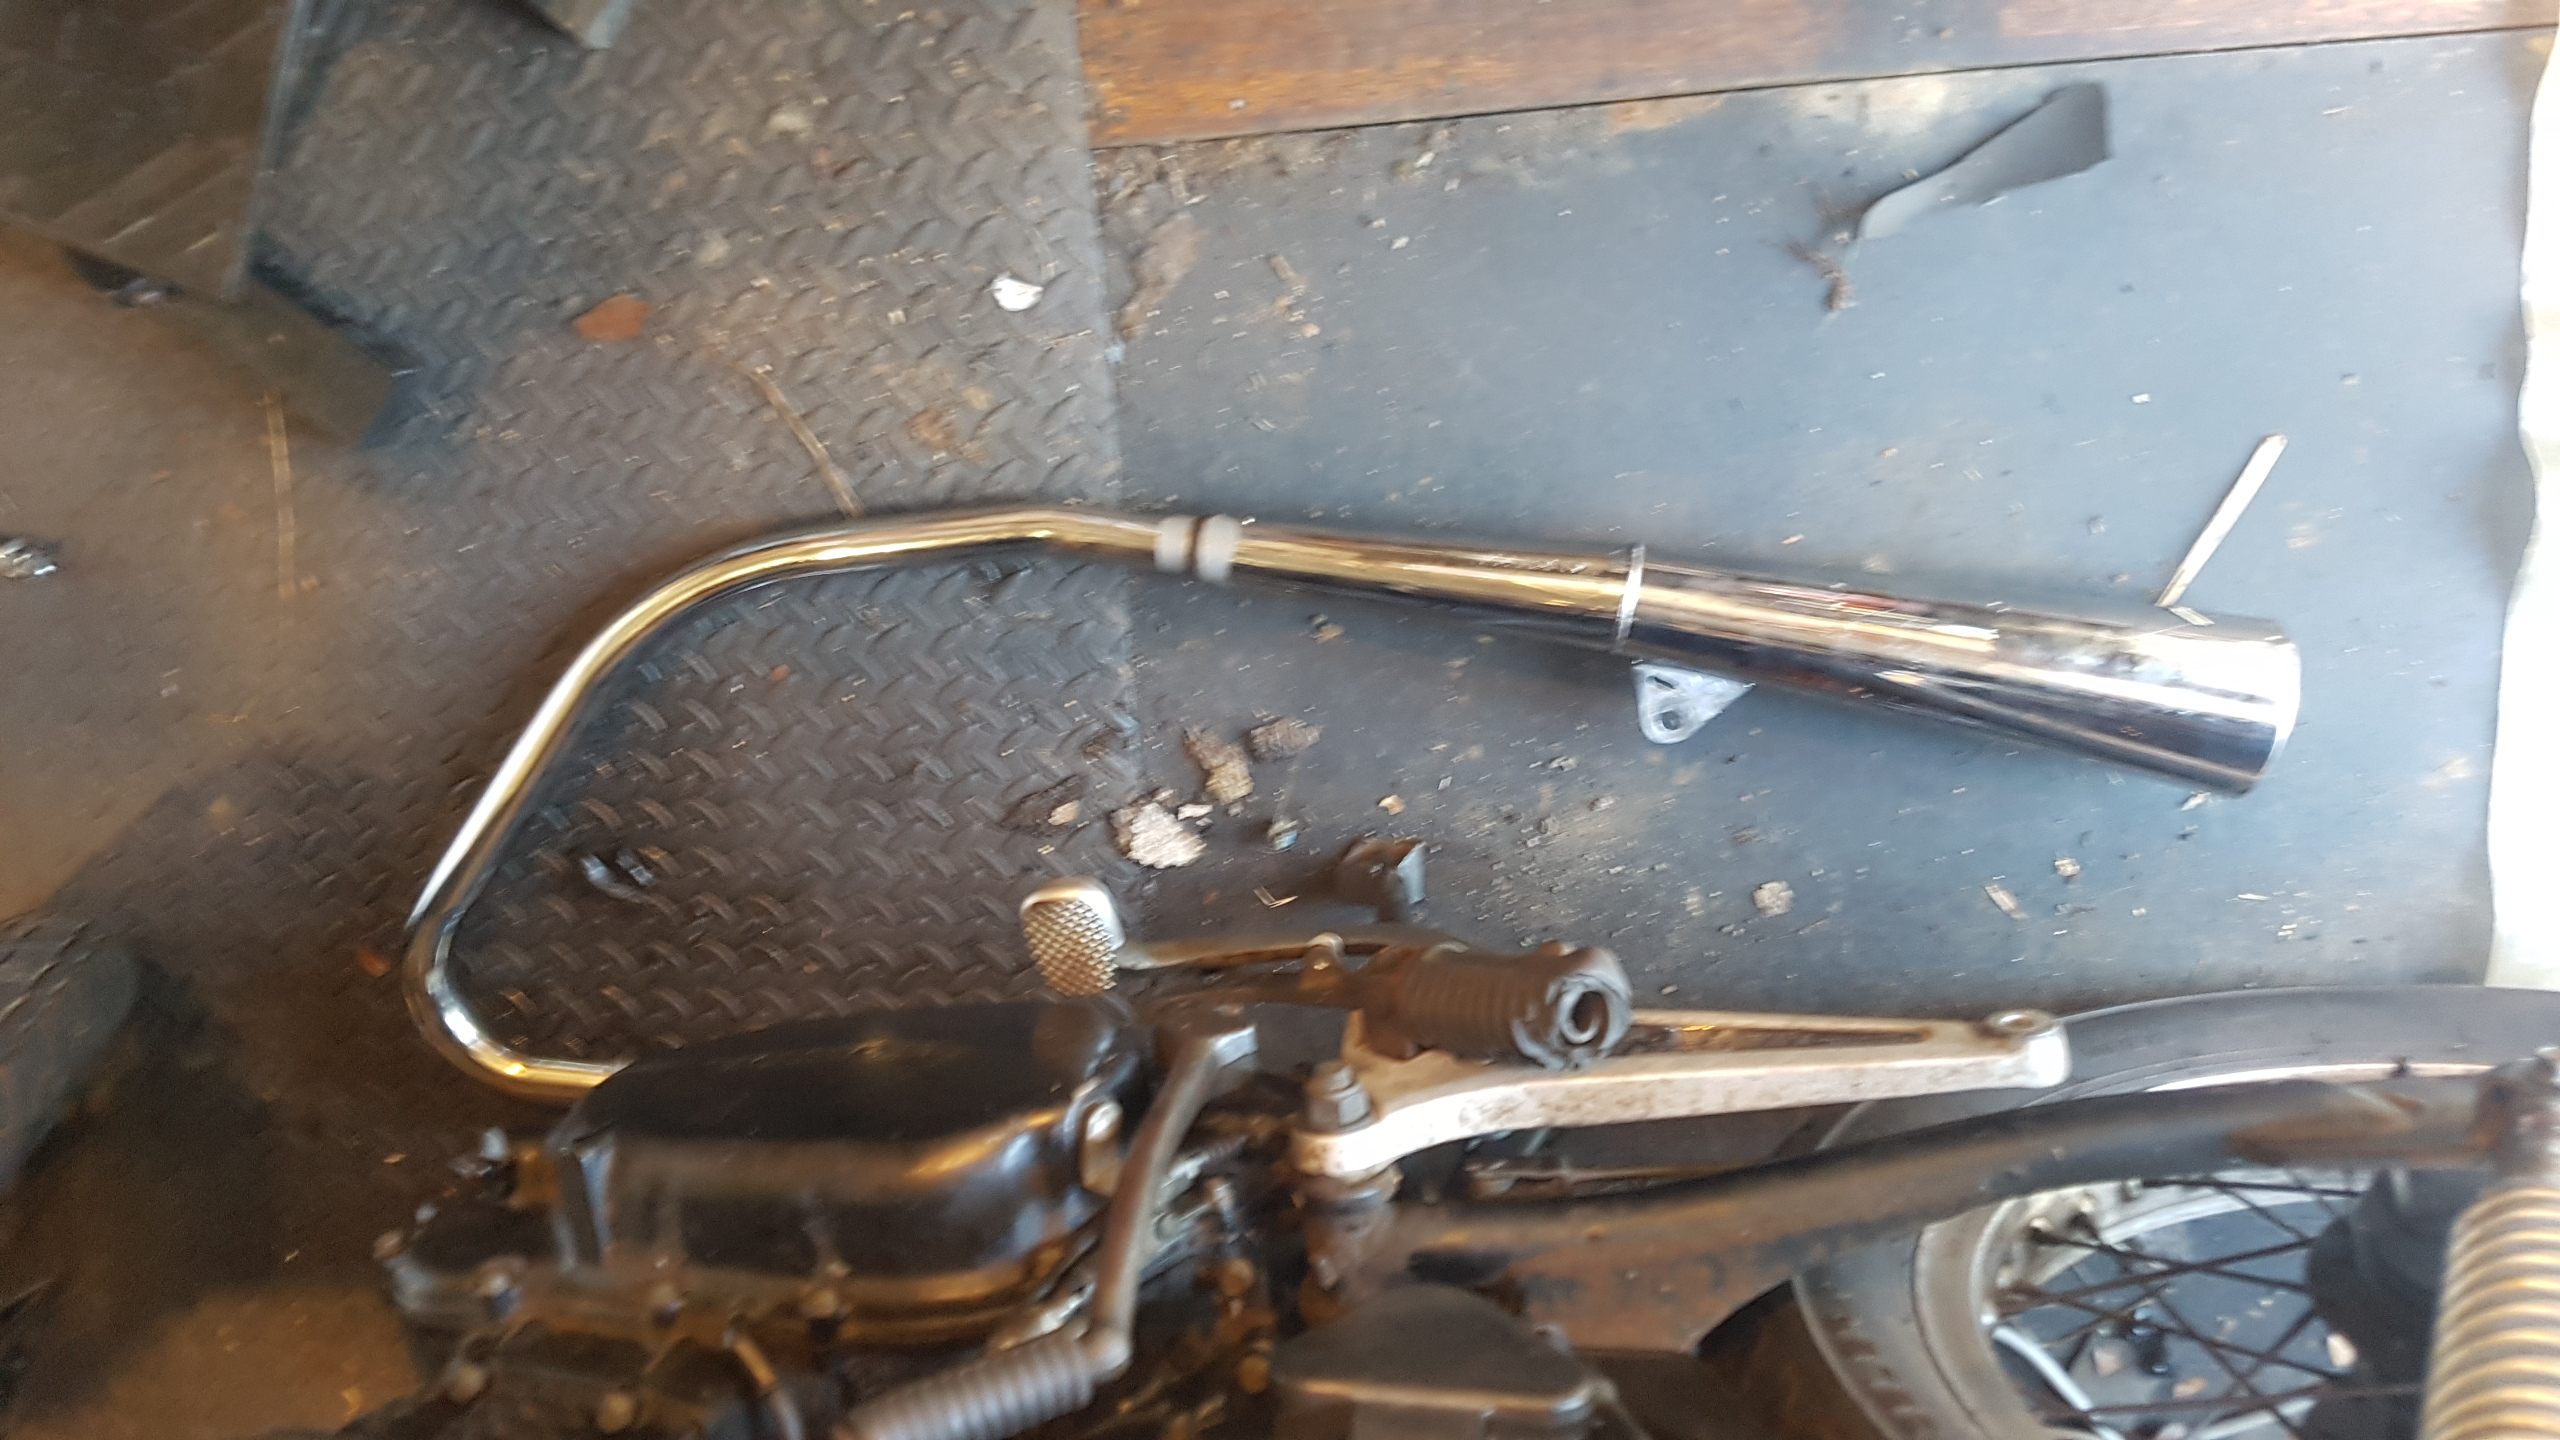
At last, it was time to fit the mufflers! First, I needed a pair of pillion pegs, as they also have retaining brackets for the mufflers. One was still attached to the donor bike, so off it came!


I placed the mufflers on either side of the bike, ready to fit. I opted not to fit new gaskets just yet, as I’ll need to remove the mufflers again in order to access the rear axle when I fit a new rear sprocket. I also fitted the rear brake lever and stopper plate.

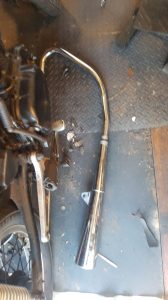
Right muffler in place.

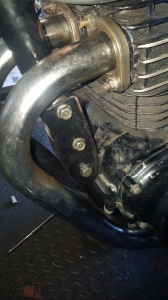
Connecting the muffler to the cylinder head was trickier than I expected, as one of the mounting bolts is significantly shorter than the other. It seems the mounting plate on this side has been replaced with one thinner one than the standard part at some stage to compensatate.

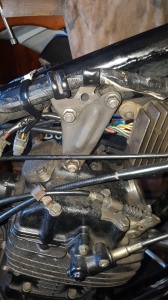
I reattached the cylinder head mounting bracket and tidied the cables through it while I had the socket wrench out.
Left muffler in place.

No problems with connecting the muffler on this side, as the threaded rods are standard length on this side of the cylinder head.
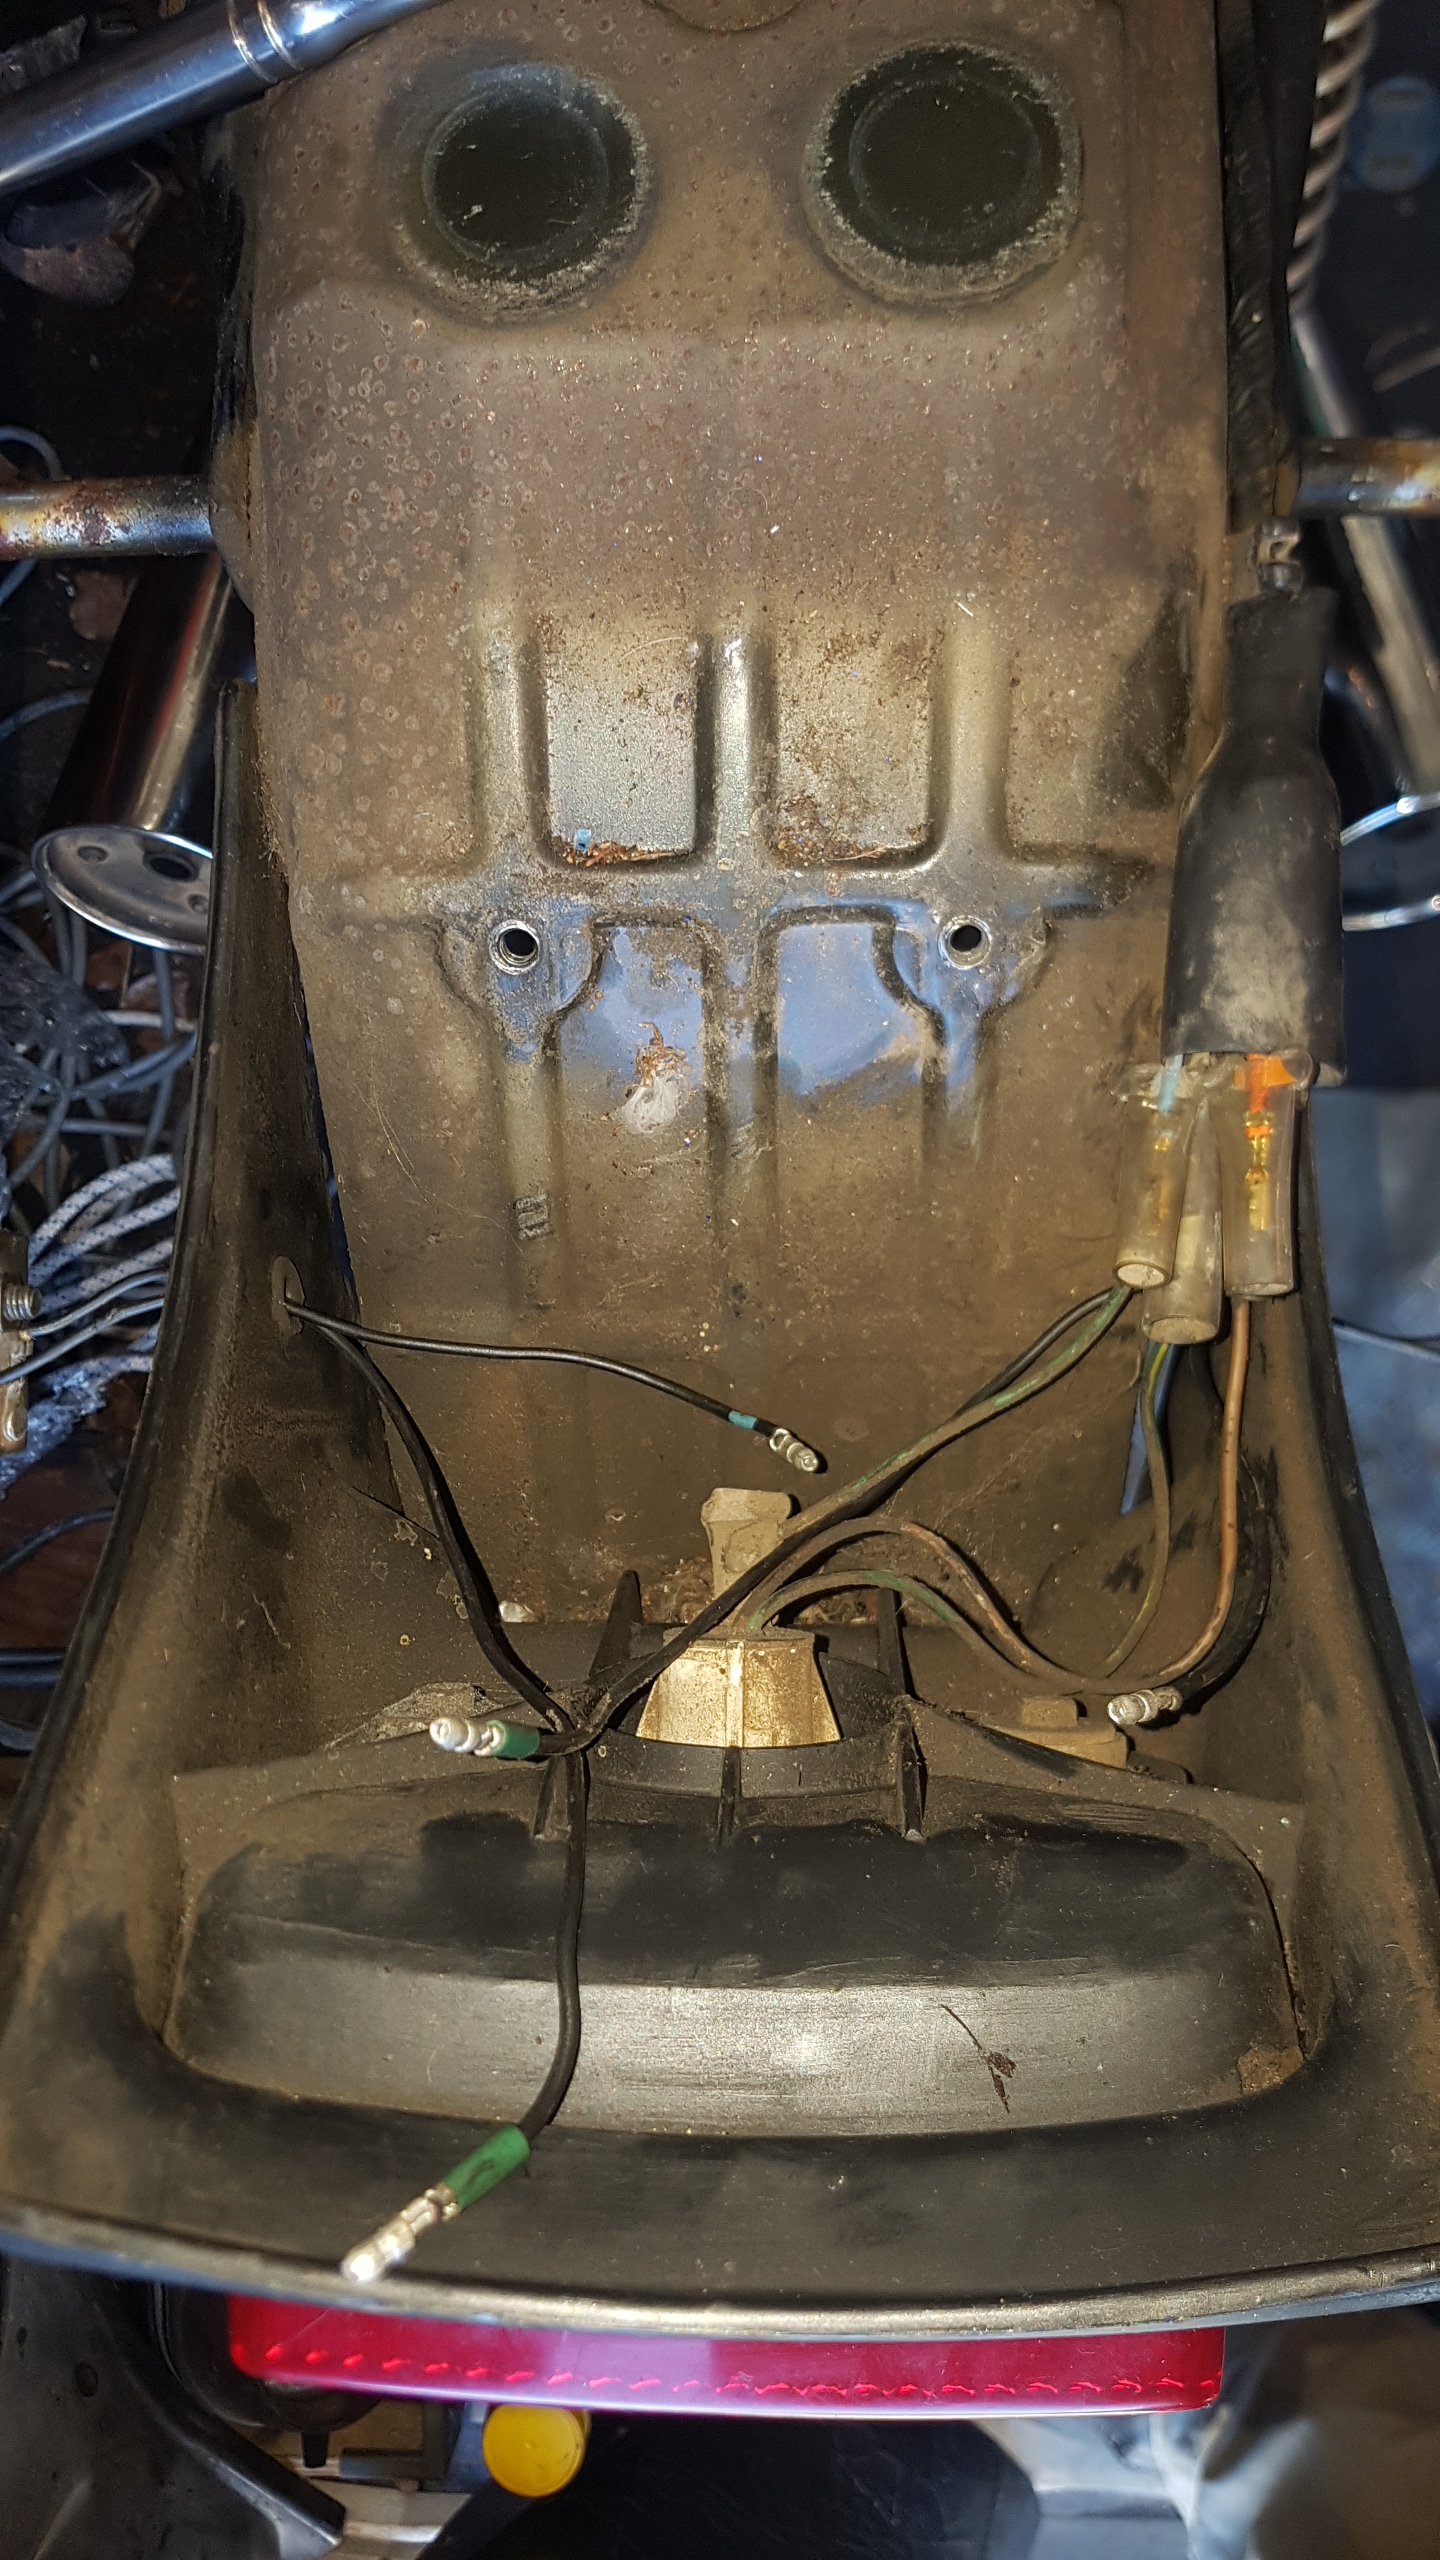
I decided to mount the rear indicators after straightening the mounting hardware. First up were the grommets.


The metal collars for the mounting screws went in next.


The mounting arms were screwed on and earth wires run through the holes in the rear fender/mudguard.


Indicators were attached and their cables run through the mounting arms and through the holes in the fender/mudguard.


Finally the cables were plugged in and the luggage compartment replaced on the rear fender.


Finally, I replaced the tank, duck-tail and seat and called it a day.

Not bad for a weekend’s work!.
All that remains now before finally getting a roadworthy check are swapping the front brake calipers so the pads match the disc, then replacing the mirrors, fuel line, front mudguard, front sprocket, front chain guards/covers, rear sprocket and chain!
I’ll also be re-fitting some side panels eventually , of course!
I’ve also been researching options for restoring the original colour scheme and livery – I’ll post more on that in a future update.